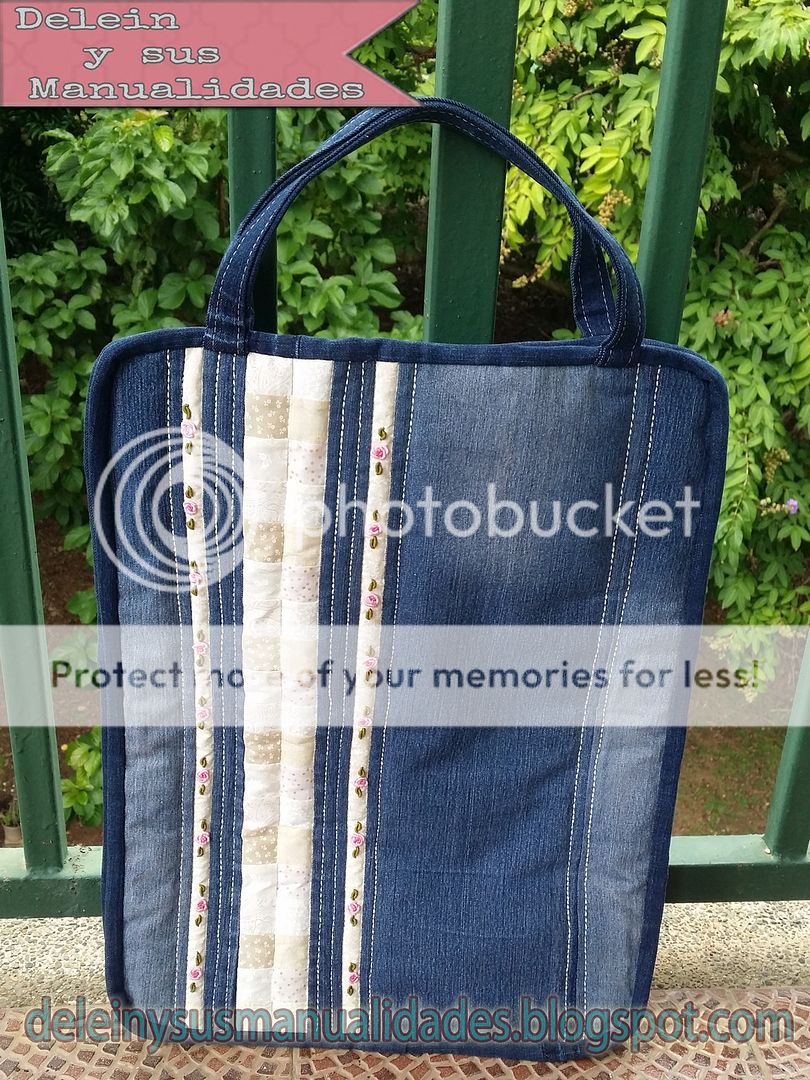
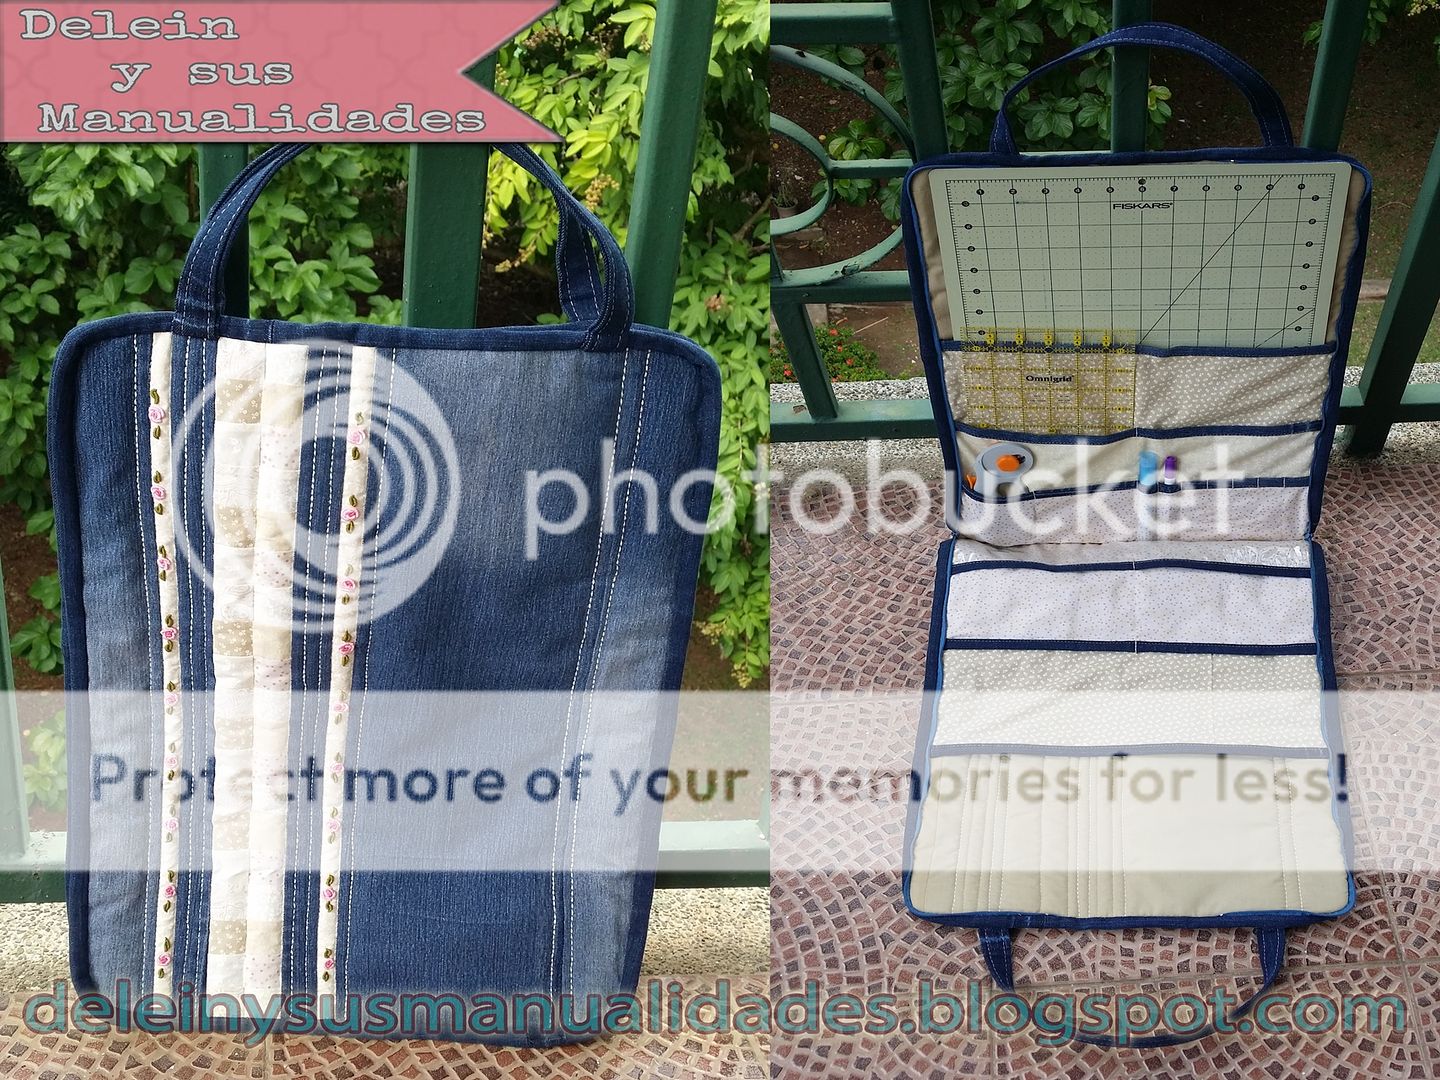
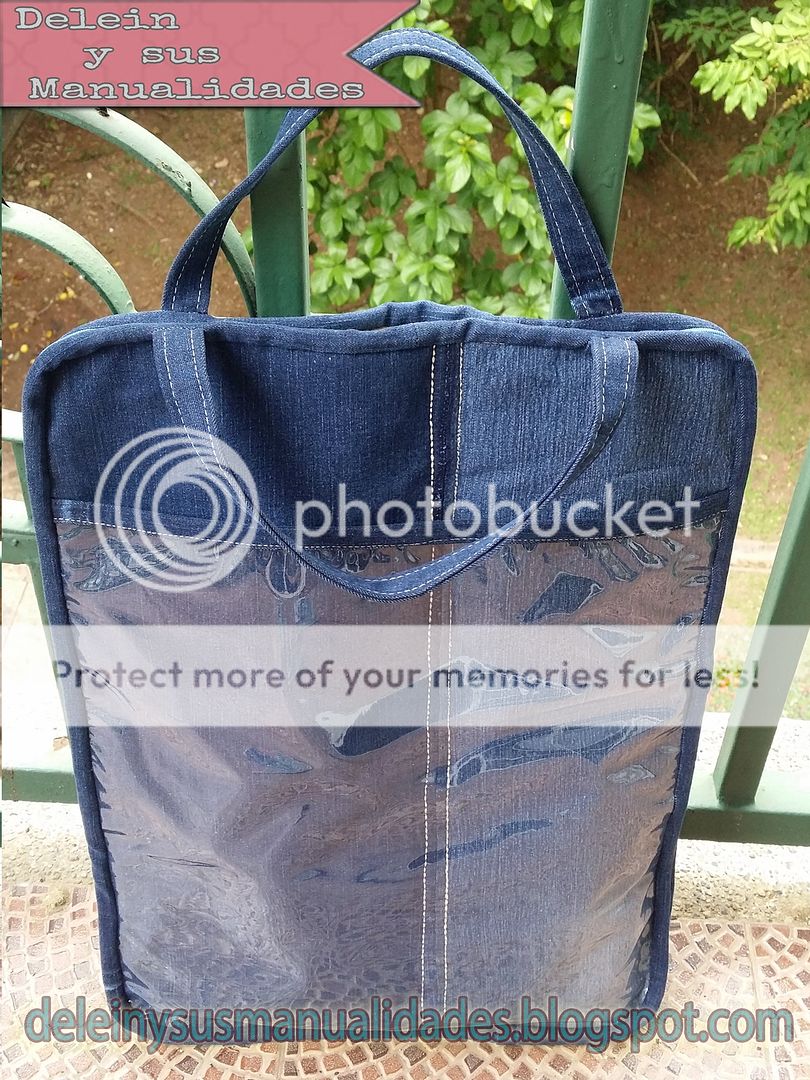
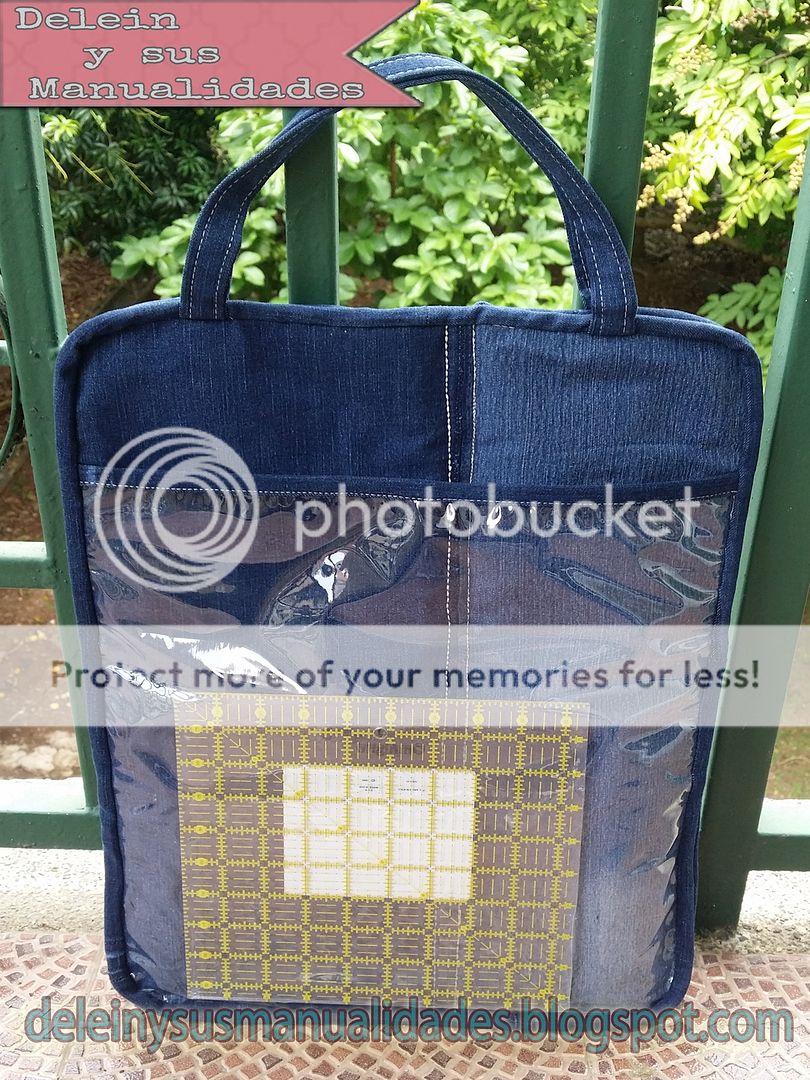
Hola amigas, hoy quiero compartir con Uds. este lindo bolso que hice especialmente para guardar y transportar la tabla para cortar, las reglas para patchwork y alguna que otras cositas por el estilo, lo hice con Jean reciclado y como ya he comentado en entradas anteriores, a mi me encanta trabajar con Jean reciclado y crear de lo viejo algo nuevo y totalmente diferente.
Hi, today I want to share with you this cute bag made especially for storing and carrying the cutting board, quilting rulers and some other things like that, I used recycled Jean and as I said in previous posts, I love working with recycled Jean and create something new and completely different.
Las invito a visitar una de mis entradas mas antiguas donde comparto un pequeño tuto de como preparar los Jeans viejos para utilizarlos como tela para nuevos proyectos:
I invite you to visit one of my older posts where I share a little tutorial on how to prepare the old Jeans for use as fabric for new projects:
Ahora, para seguir con este proyecto, les comento que lo hice sin moldes ni patrones y me lance a la aventura sin haber hecho ninguno anteriormente, parece un poco complicado pero realmente termino siendo sencillo aunque un poco laborioso.
Now, to continue with this project, I tell you that I completed this project without having a pattern, however, I launch into the adventure without having done anything like this before, it seems a bit complicated but it really ended up being simple yet a bit laborious.
Now, to continue with this project, I tell you that I completed this project without having a pattern, however, I launch into the adventure without having done anything like this before, it seems a bit complicated but it really ended up being simple yet a bit laborious.
Todas las costuras las realice con un margen de costura de 0.5 cm
All seam allowances are 1/2 inch
All seam allowances are 1/2 inch
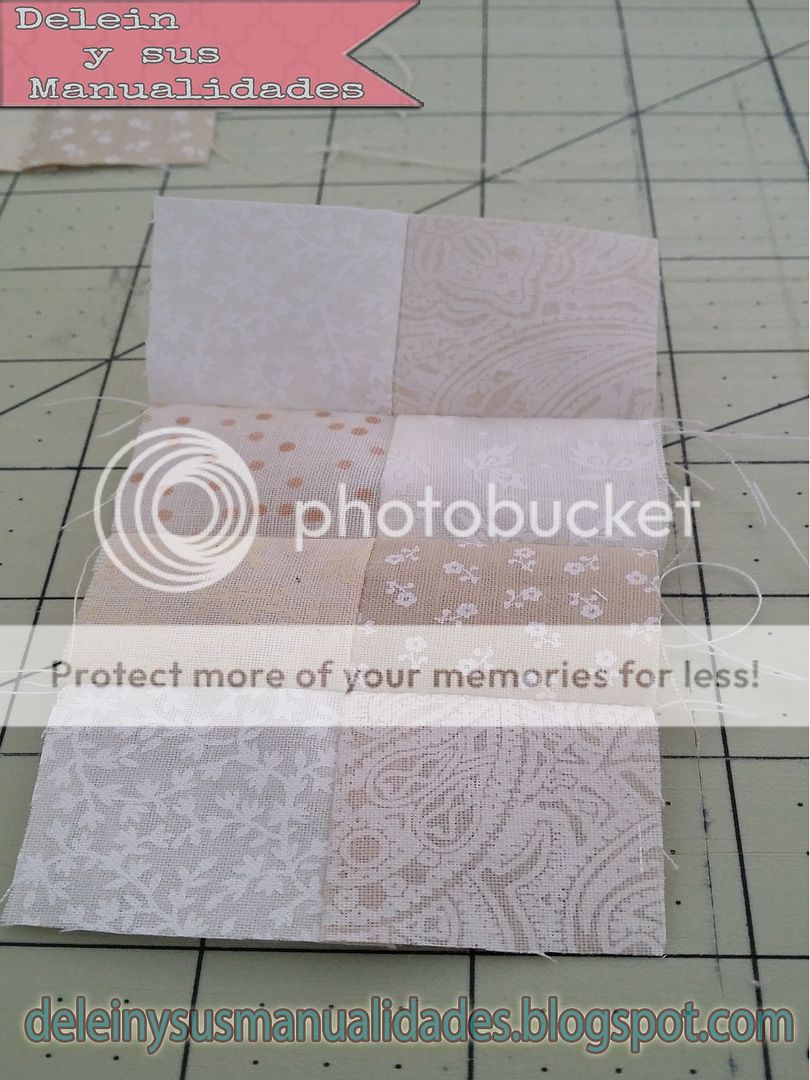
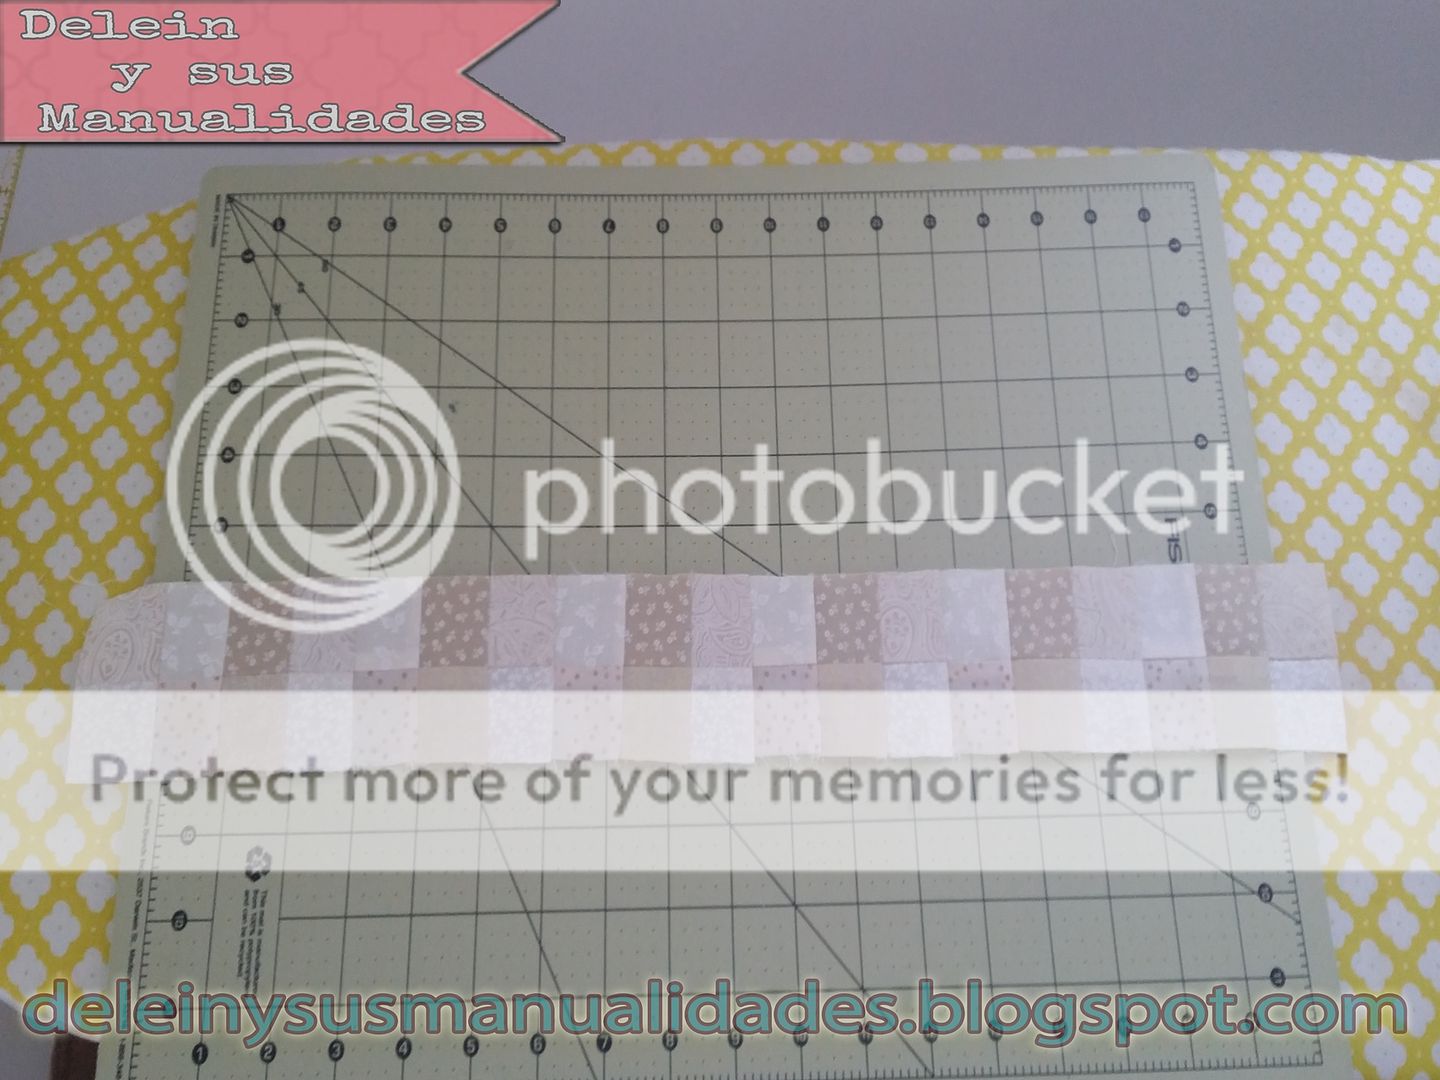
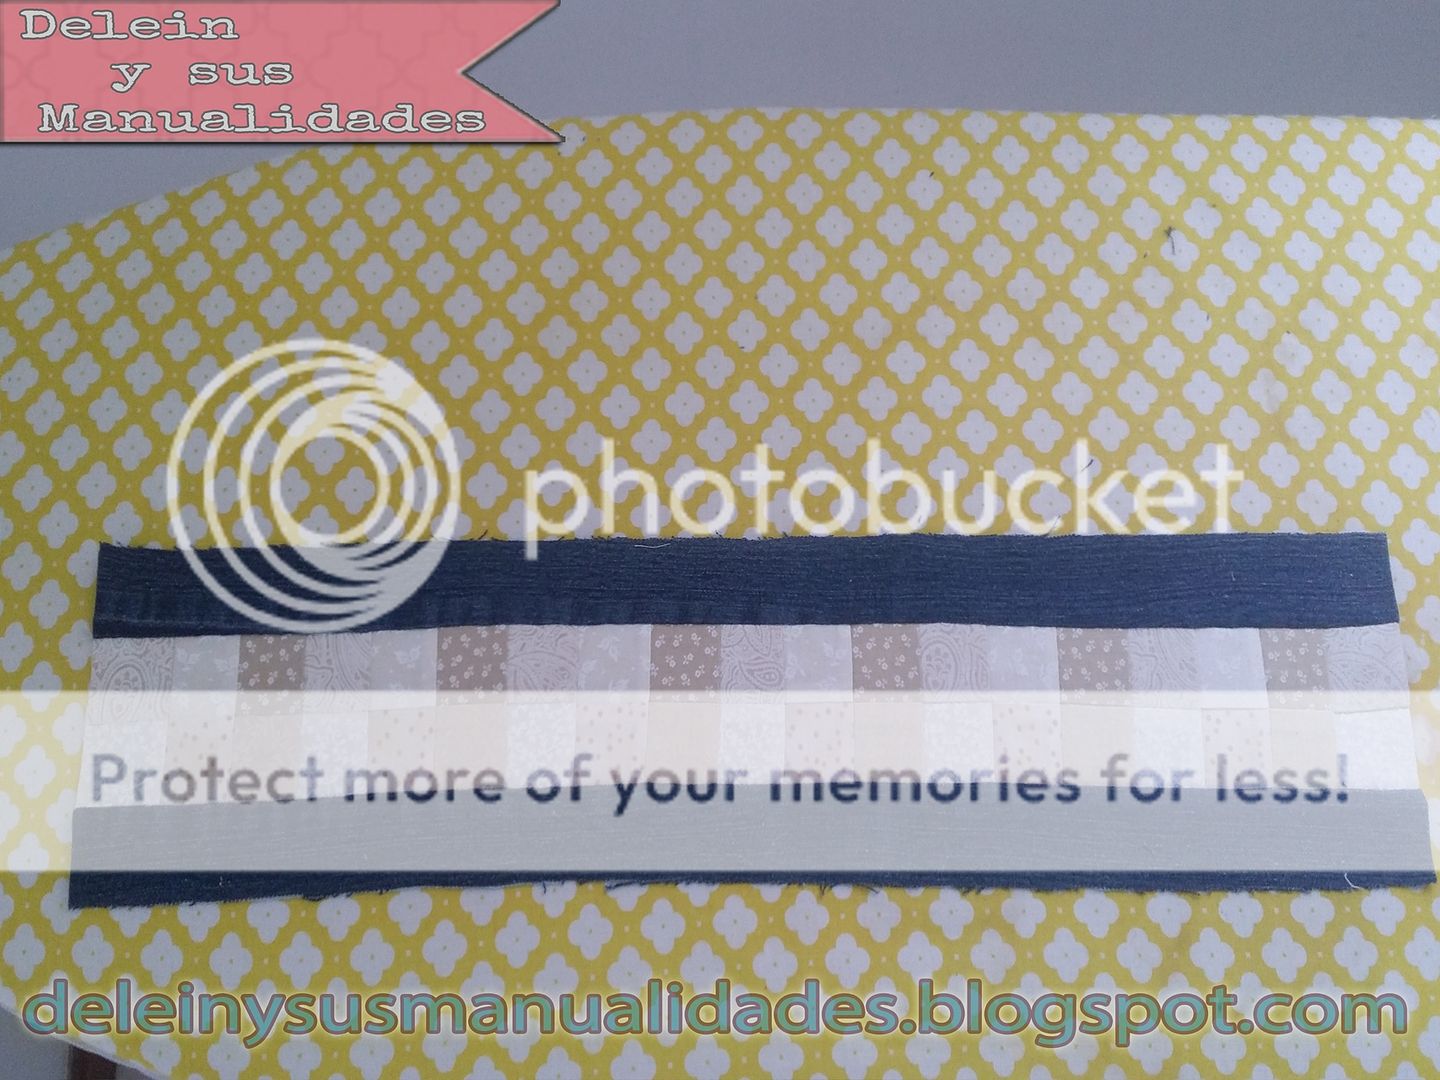
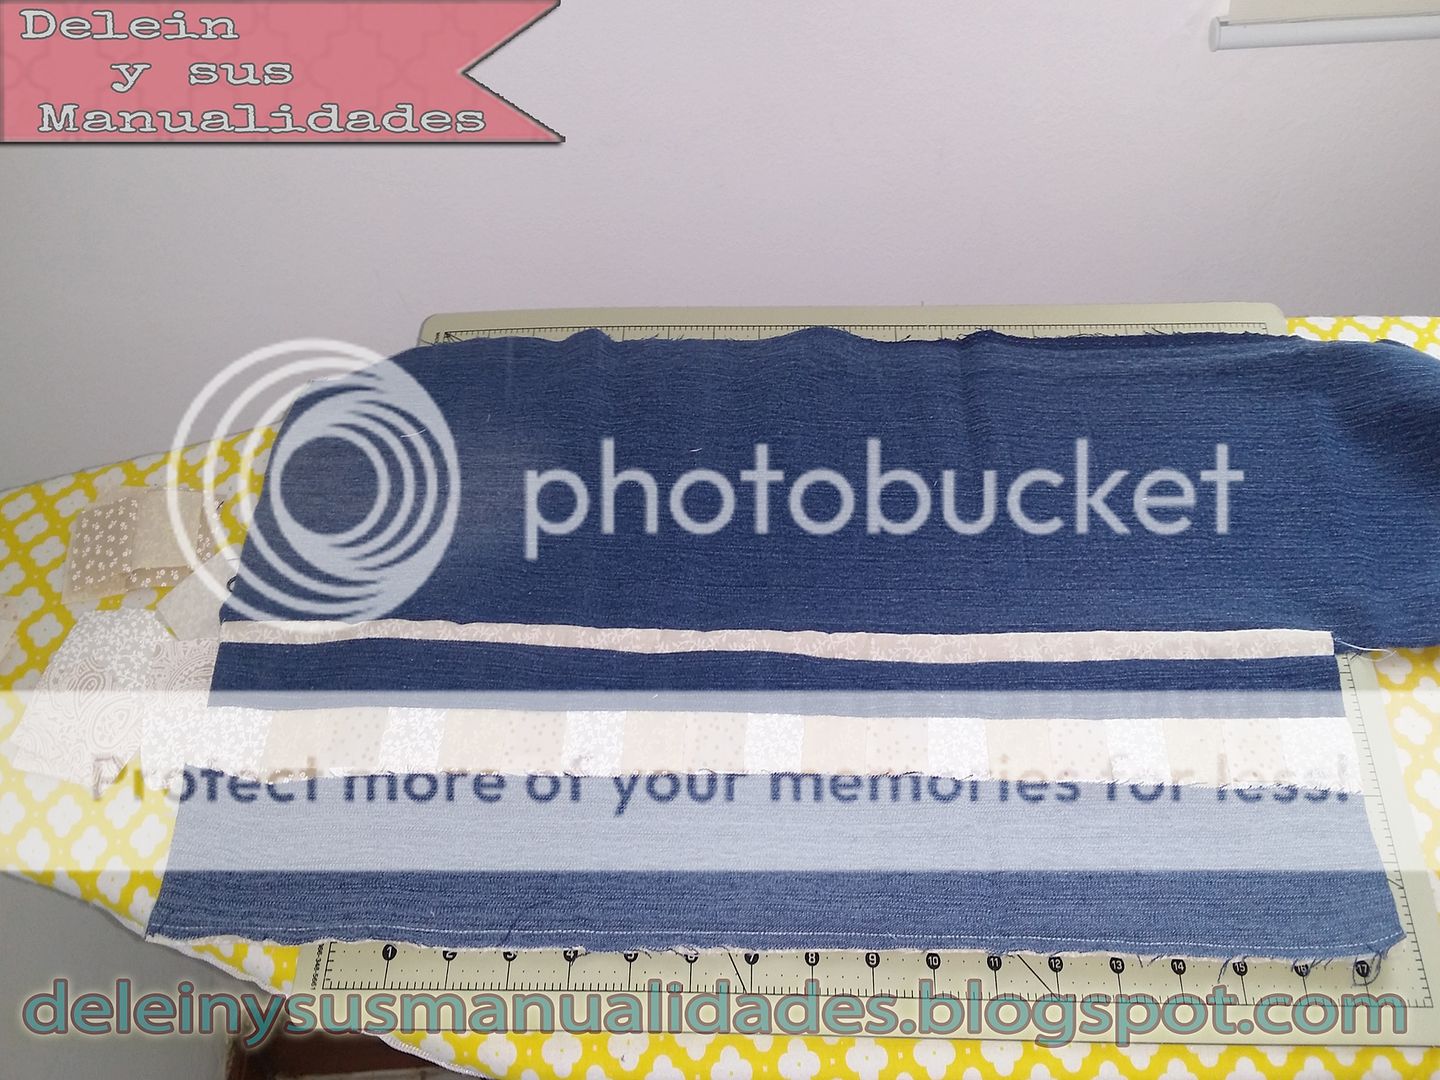
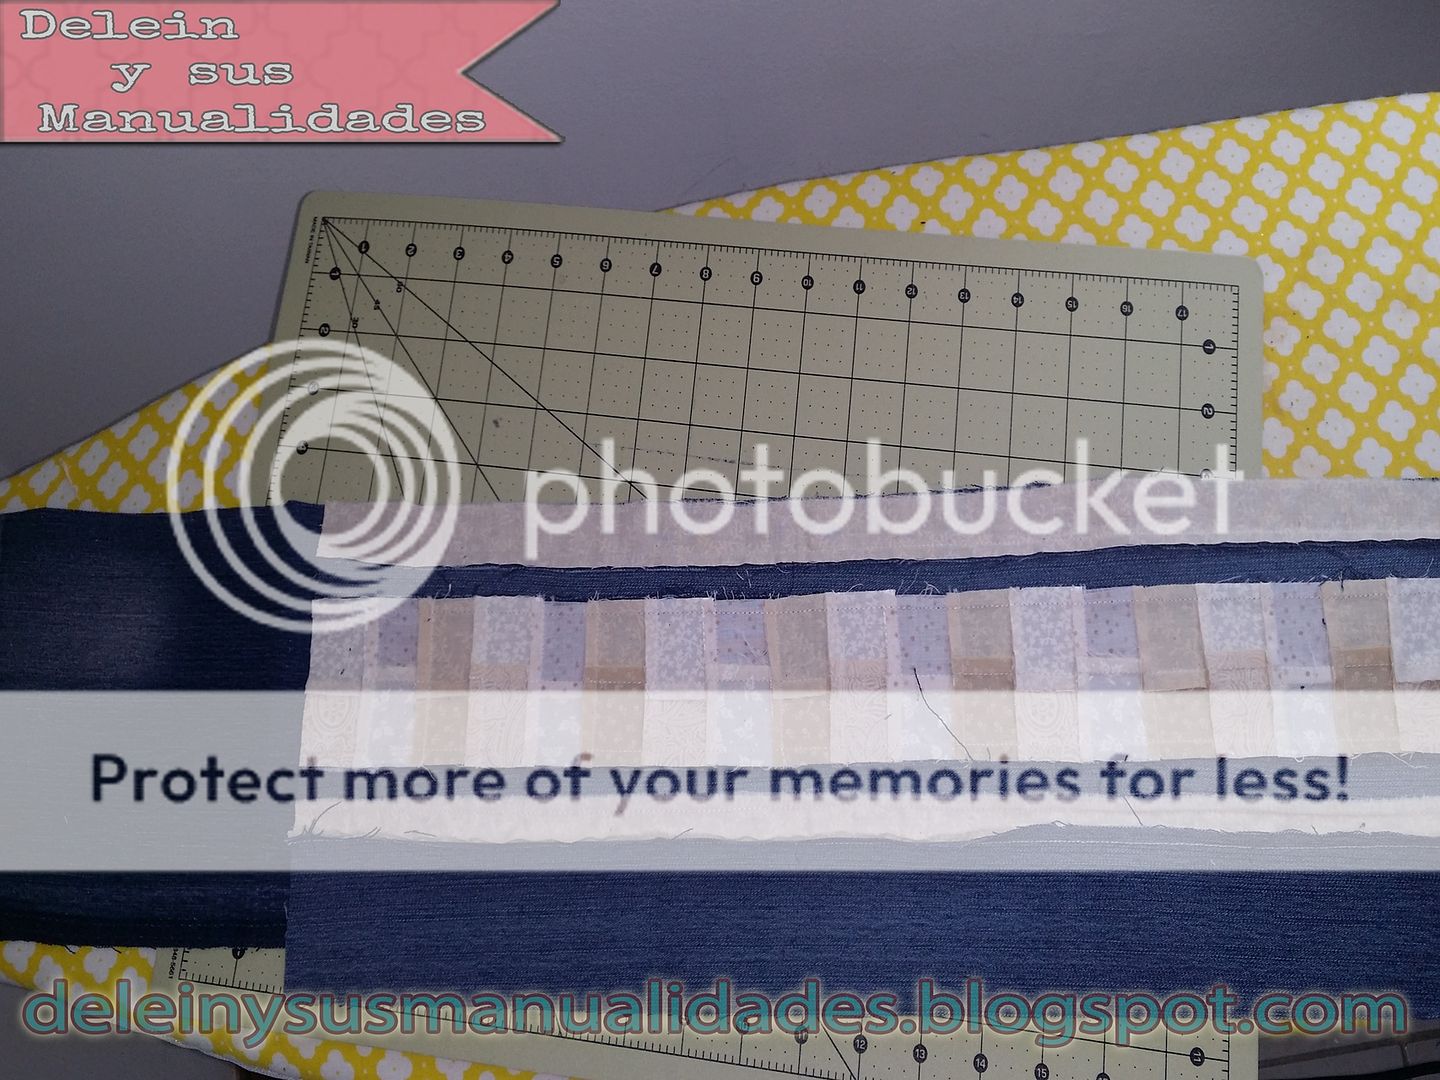
1.- Comencé por hacer una tira de dos franjas de cuadros de 2.5 cm cada uno (3.8 cm incluyendo el margen de costura)
1. - I started with a strip made of squares each 1 inch (1 1/2 inches including the seam allowance)
2.- Fueron 2 franjas de 19 cuadritos cada una
2.- There were two strips of 19 squares each
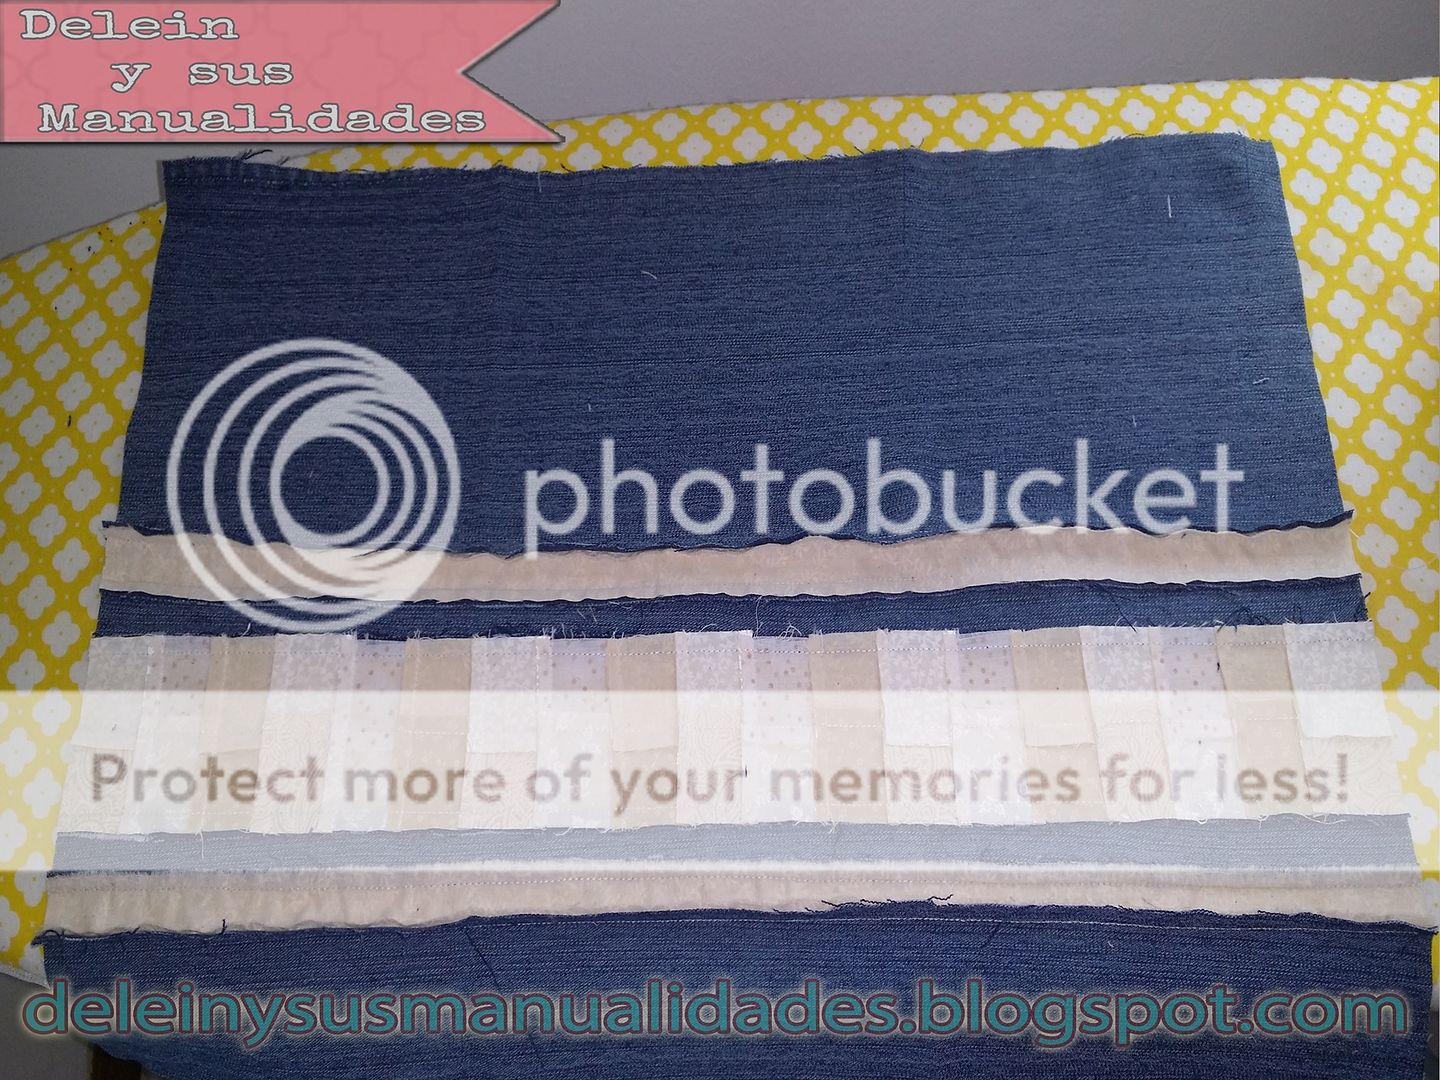
3.- Luego a cada lado le agregue una tira de 2.5 cm (3.8 cm incluyendo el margen de costura) de jean
3. - Then at each side I added a strip of 1 inch (1 1/2 inches including the seam allowance) of jean
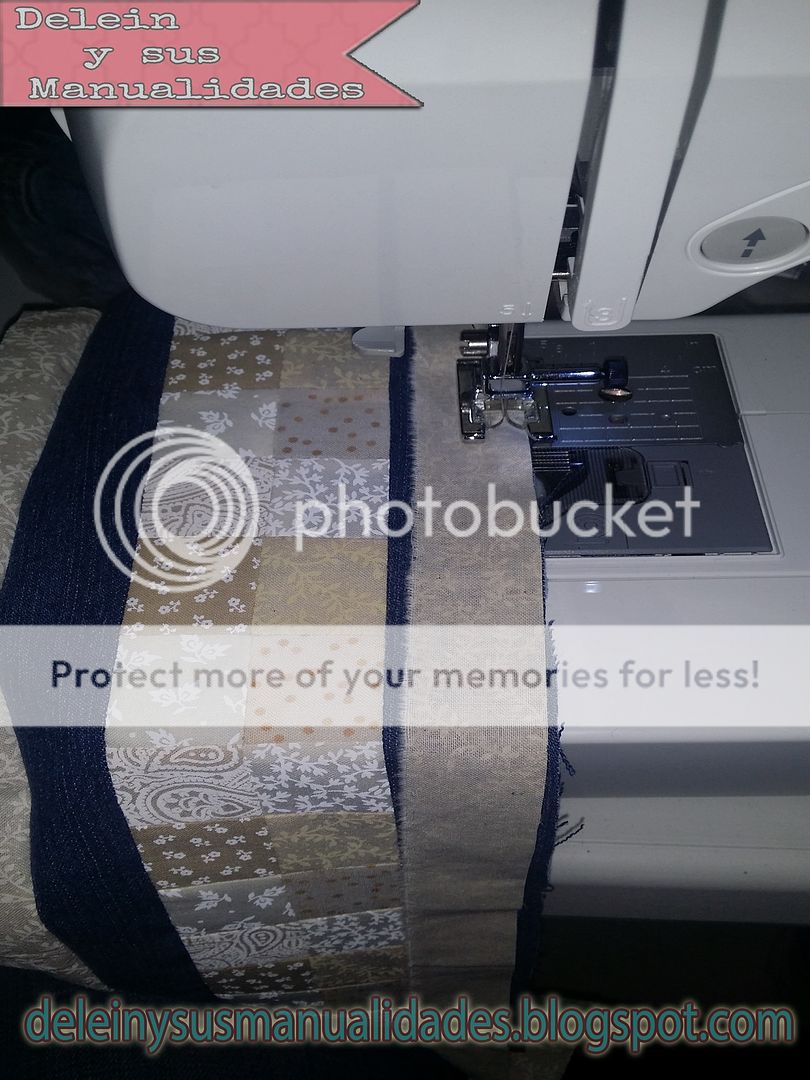
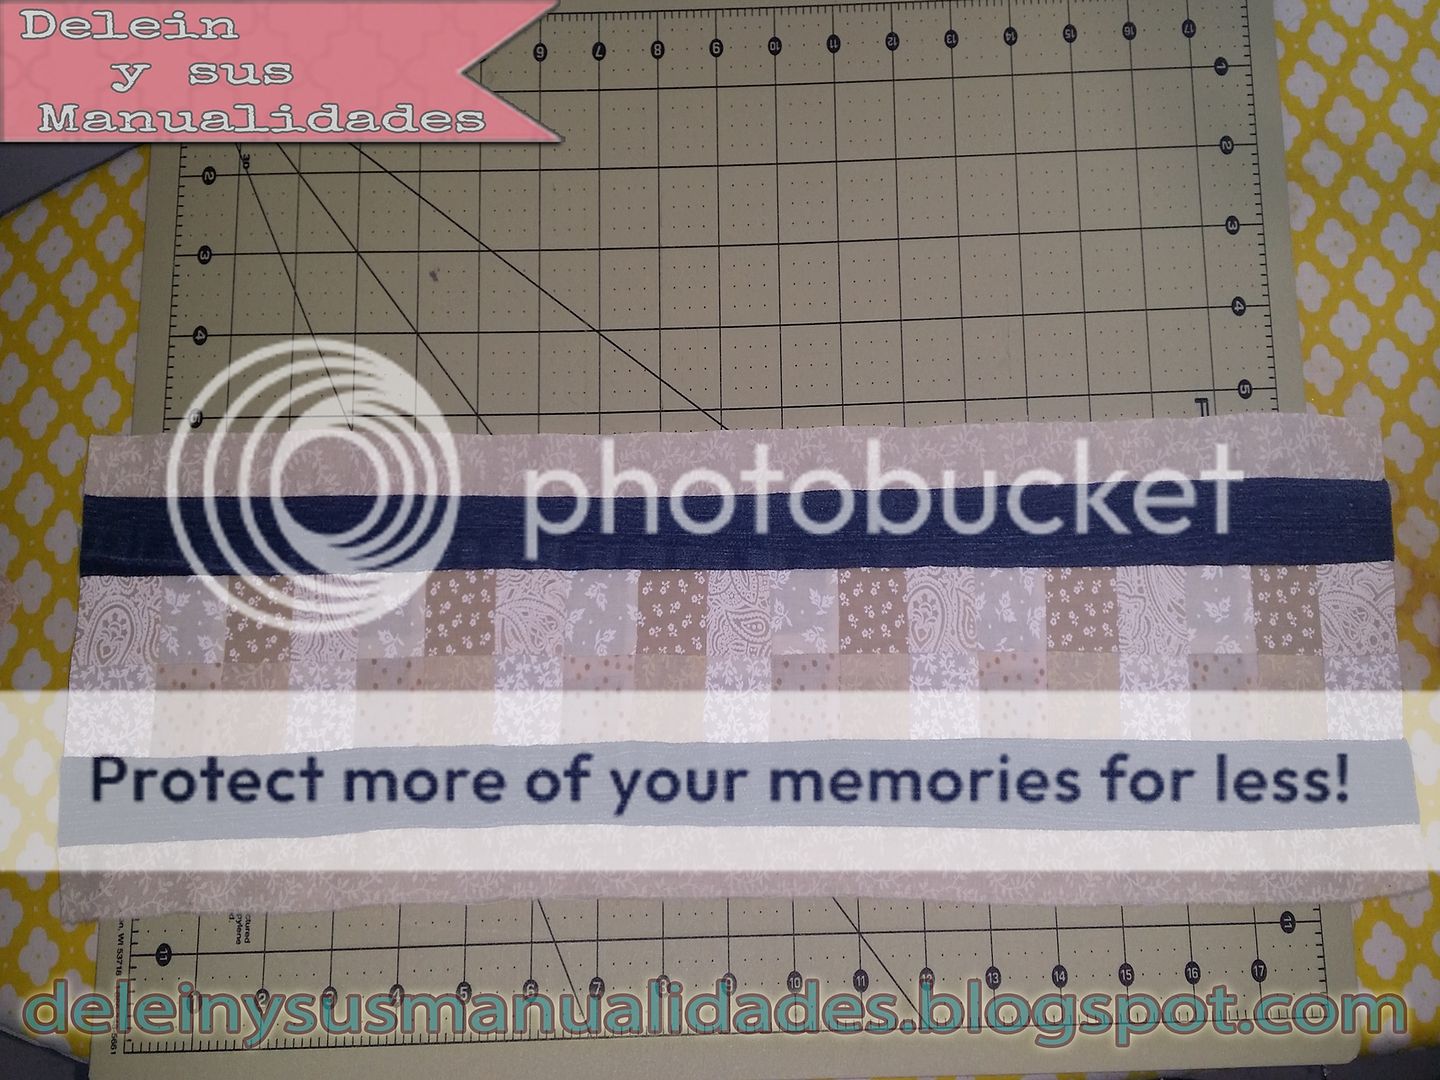
4.- A continuación le uní una tira de 2.5 cm de ancho (3.5 cm incluyendo el margen de costura)
4. - Here joined a strip of 1/2 inch wide (1 inch seam allowance including)
5.- Del lado derecho le agregue una tira de Jean de 6 cm. ( 7.5 incluyendo margen de costura)
5.- On the right side I added a strip of Jean of 2 inches (2 1/2 inches seam allowance)
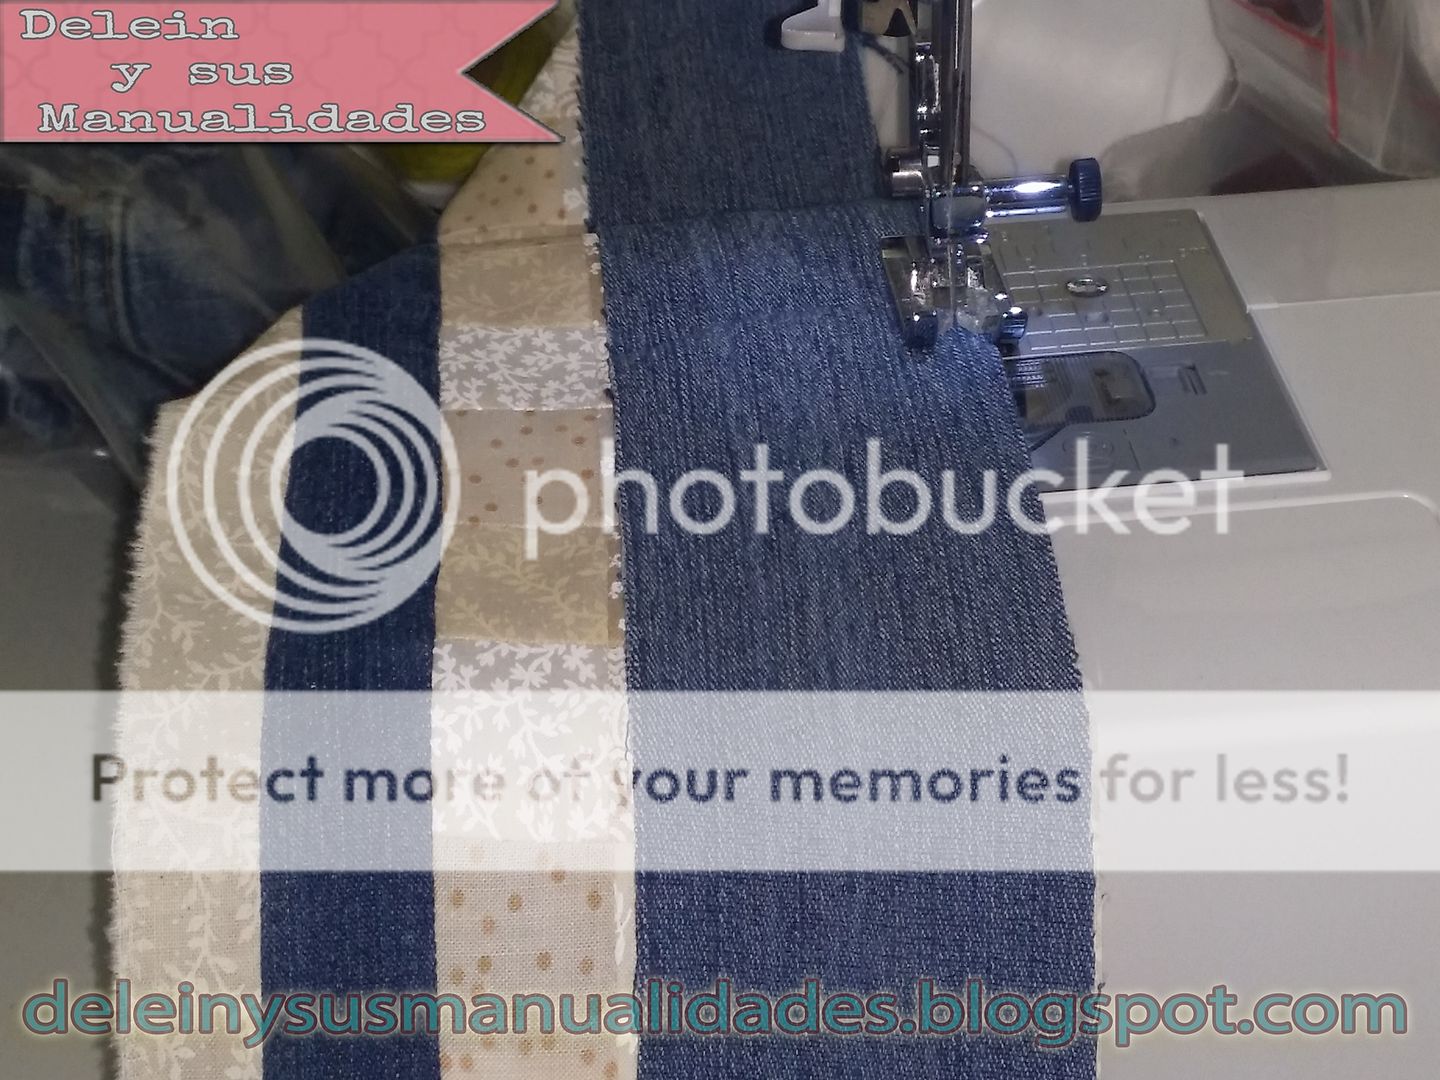
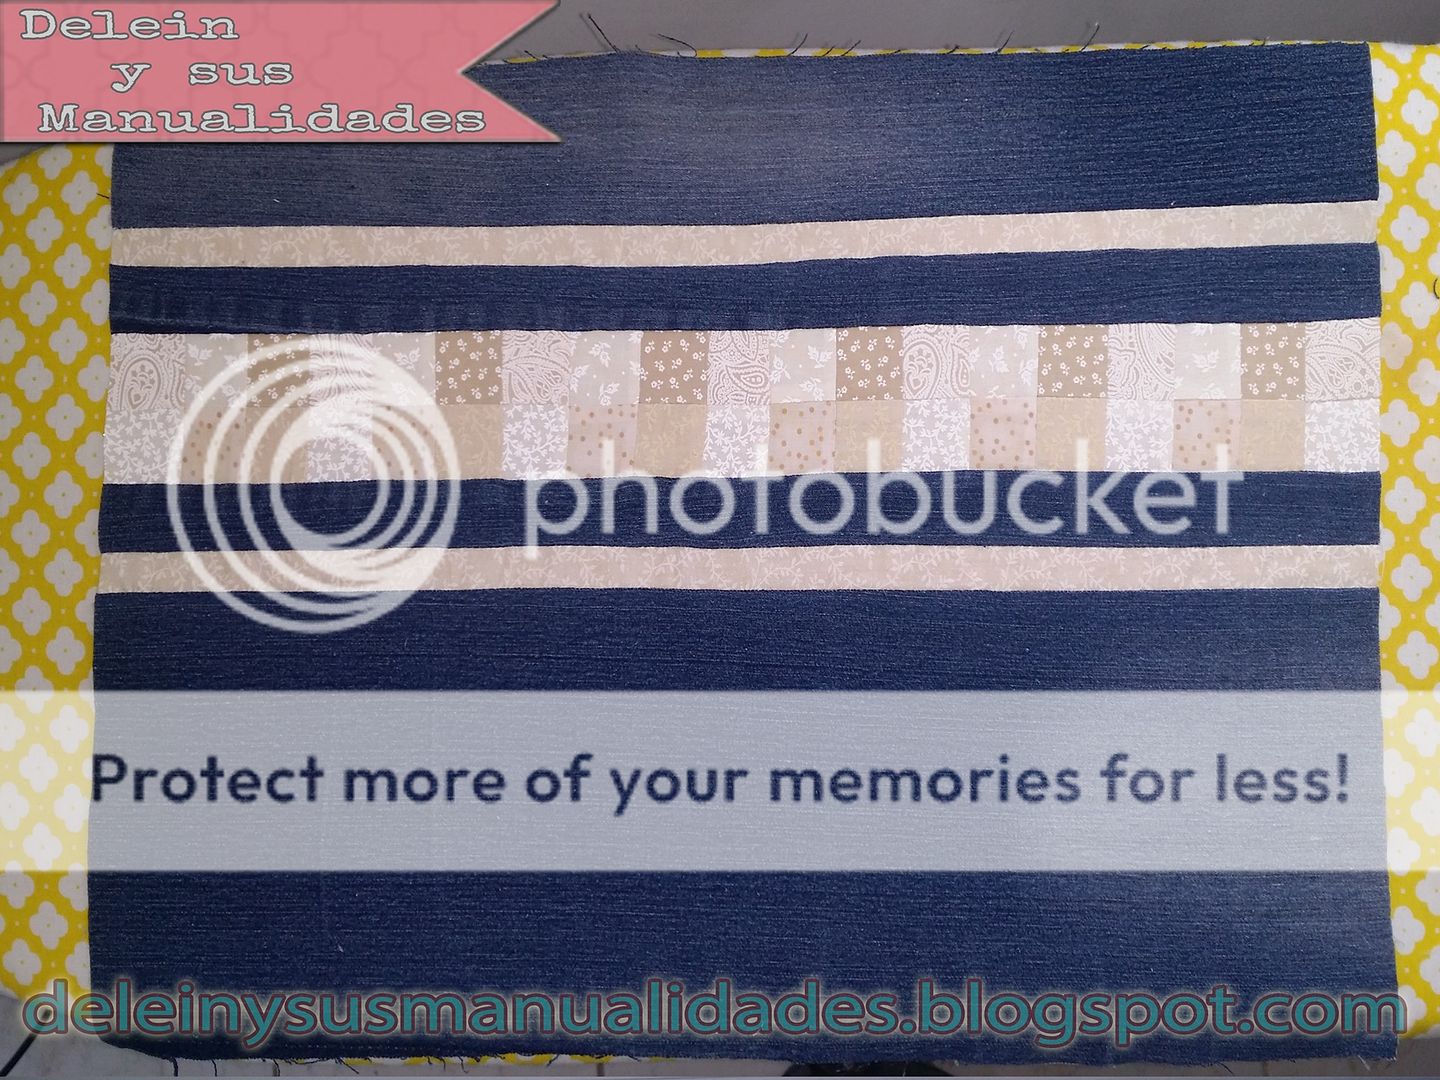
6.- Del lado derecho le agregue una tira de 20 cm. (21.5 cm incluyendo margen de costura)
6. - On the right side, I added a strip of 8 inches (8 1/2 inch seam allowance including)
7.- El tamaño final de 51 cm. de alto X 38 cm. de ancho ( 39 cm incluyendo el margen de costura)
7.- The final size was 20 inches high x 15 inches wide (20 1/2 inches x 15 1/2 inches, including the seam allowance)
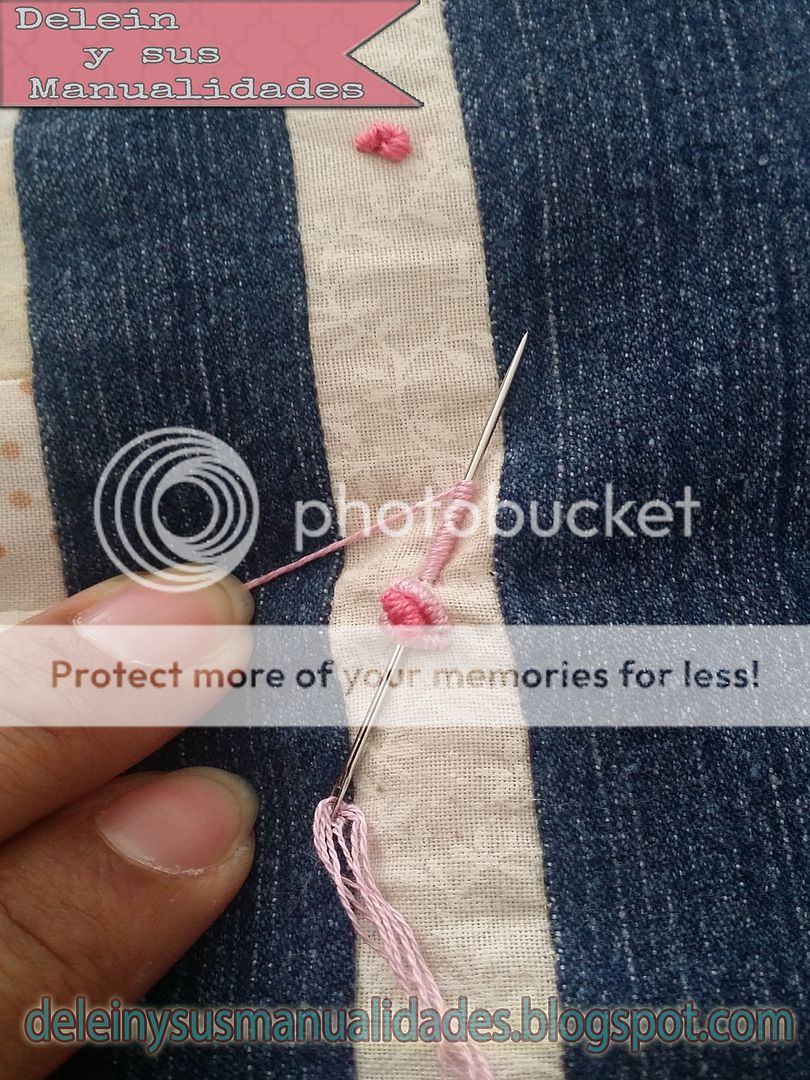
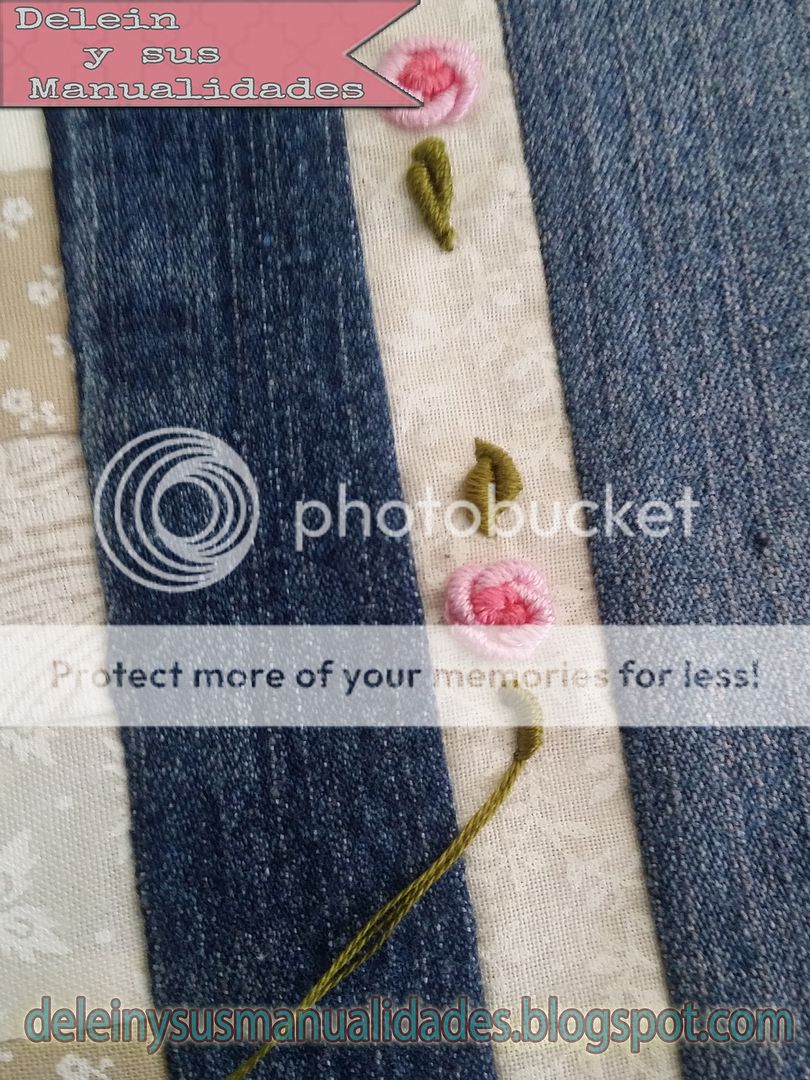
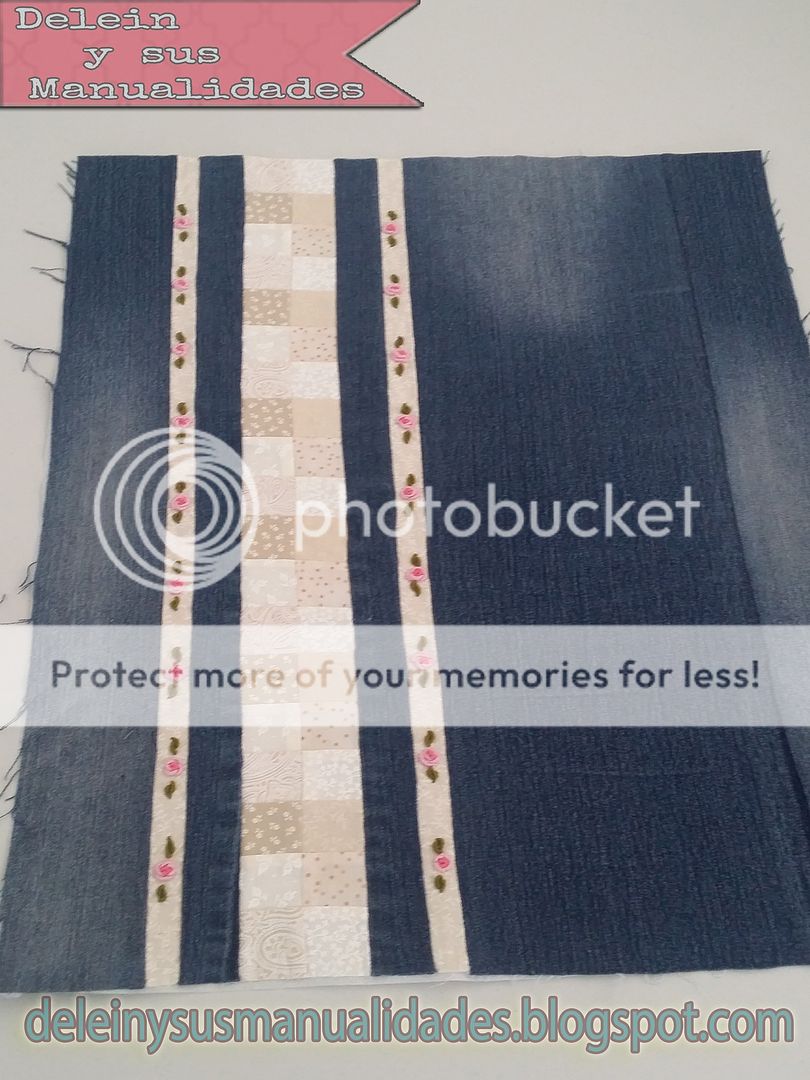
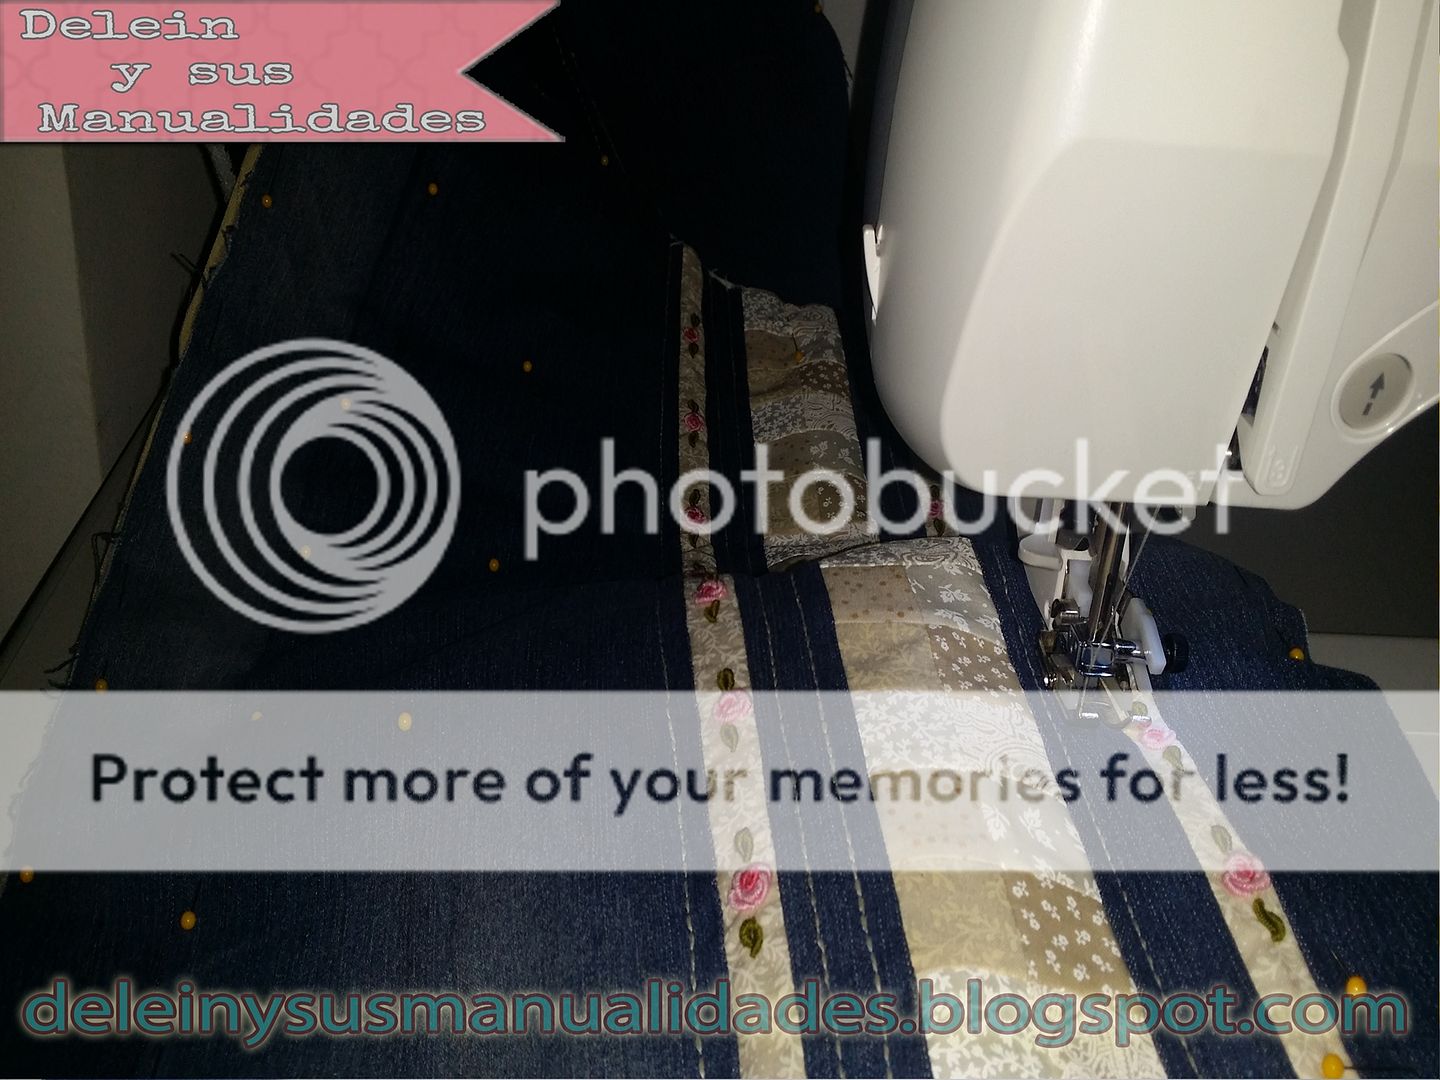
8.- En este punto añadí un toque decorativo con detalles de bordado a mano, una hilera de rositas rosadas con pequeñas hojas para agregar mas color.
8.- At this point I added a decorative touch with hand embroidered details, a row of pink roses with small leaves to add more color.
9.- Vamos a necesitar dos piezas en Jean de 39 cm X 51 cm , igualmente y de las mismas medidas vamos a necesitar 2 piezas de guata y 2 piezas para el forro.
9.- We will need two pieces in Jean 15 X 20 inches, and also the same measures we will need 2 pieces of batting and 2 pieces for the lining.
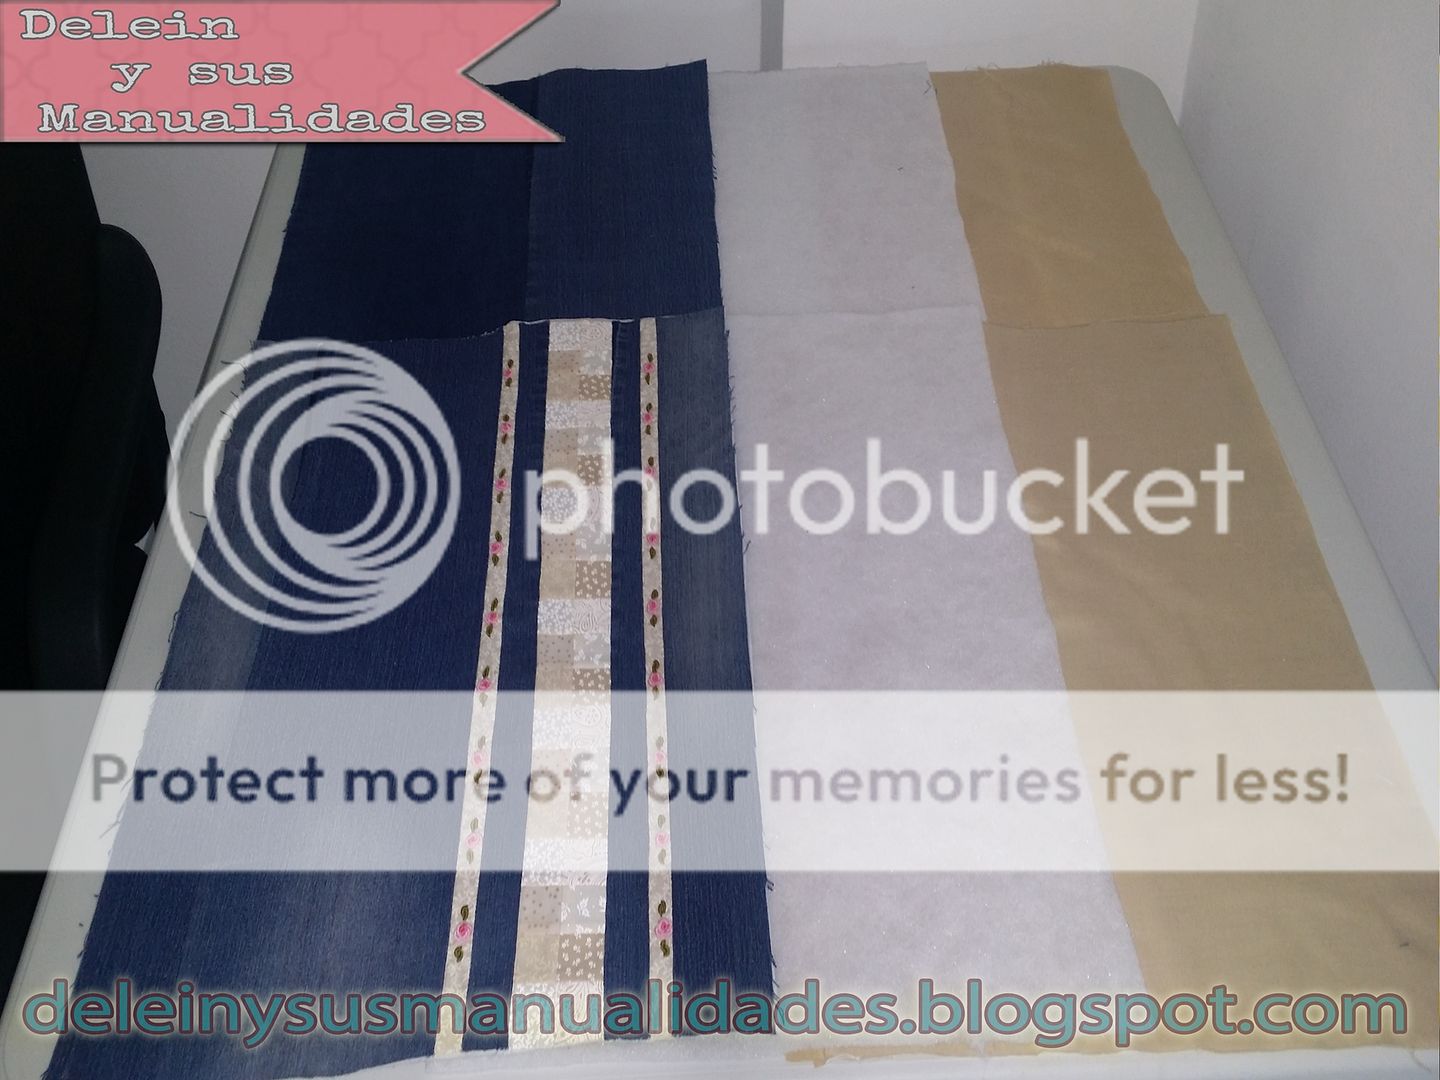
10.- Procedemos a unir la pieza de Jean, la guata y la tela de forro, en este caso realice el acolchado con costuras rectas a lo los costados de las costuras.
10. - I continue to attach the piece of Jean, the batting and lining, in this case I quilted with a straight line at the sides of the seams.
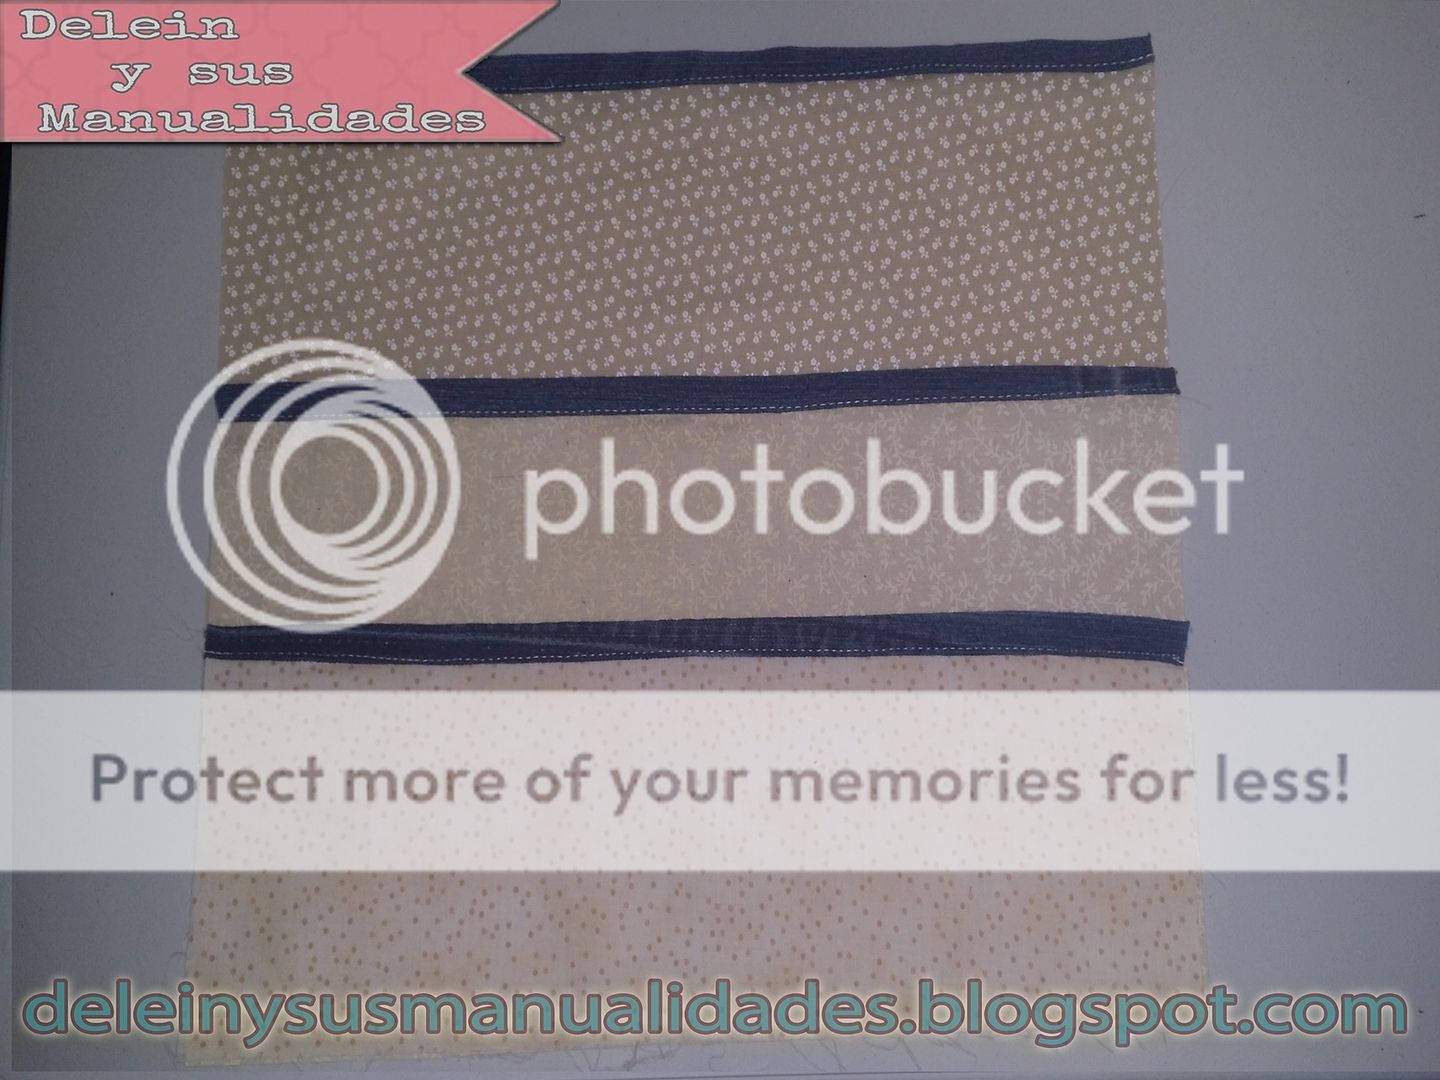
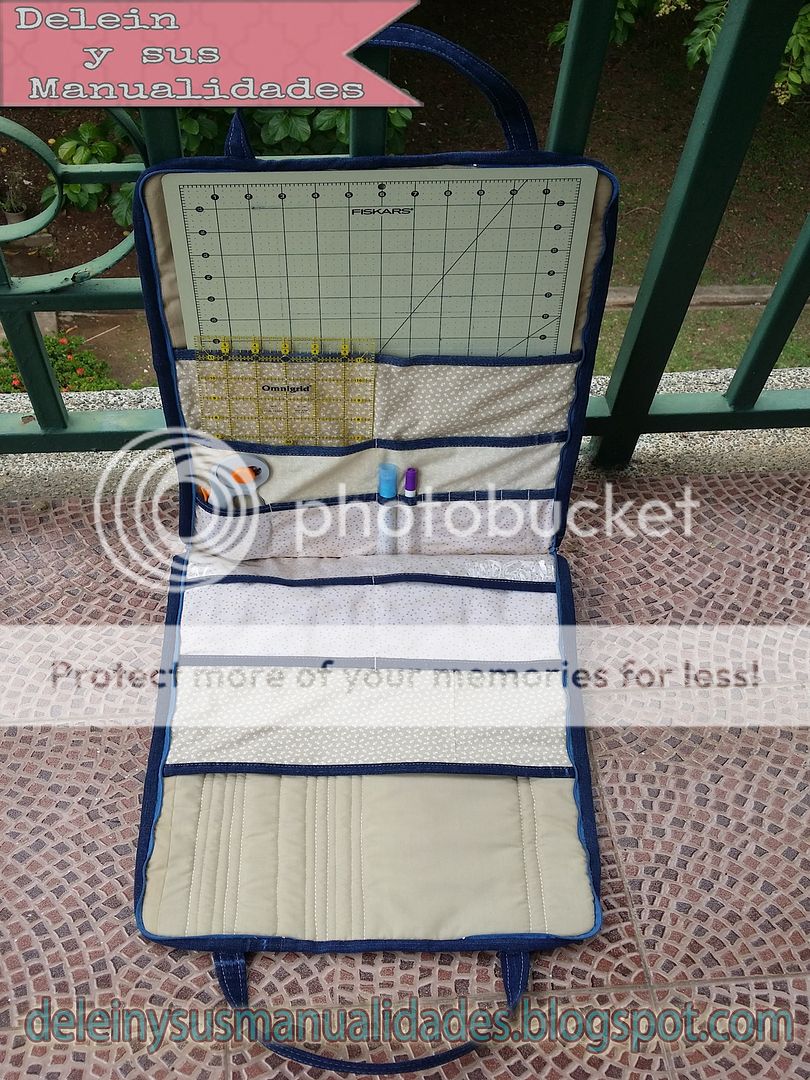
11.- Para los bolsillos interiores corte 3 piezas, la 1ra. para el bolsillo mas alto es de 34 X 39 cm, la segunda pieza de tela que conforma el bolsillo del medio es de 21.5 X 39 cm y el bolsillo mas bajito lo hice con una pieza de 9 X 39 cm ( todas estas medidas ya tienen incluido en margen de costura), a cada una de estas piezas les coloque en la parte superior un bies que realice con la misma tela de Jean el cual lo hice de 5 cm de ancho.
11. To cut inside pockets 3-piece, the first piece for the highest pocket is 13 X 15 inches, the second piece of fabric forming the pocket of the middle is 8 1/2 X 15 inches and the shortest pocket was 4 x 15 inches (all these measures are already included in seam allowance).
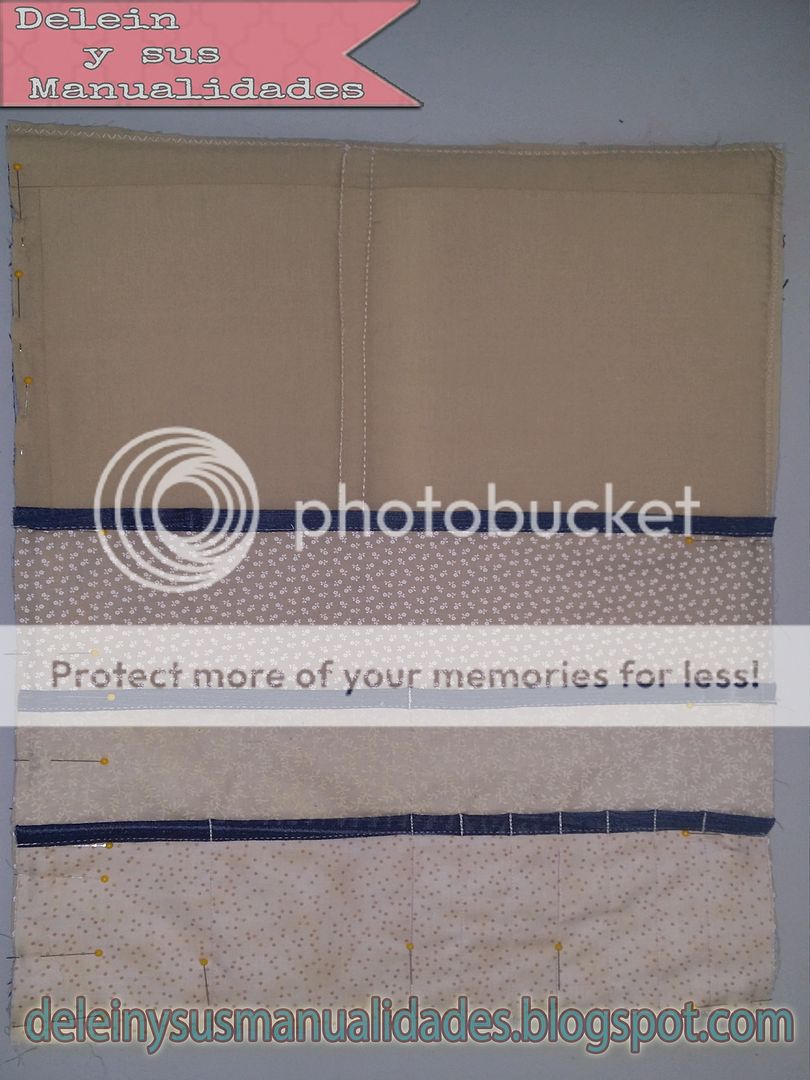
Coloque una sobre otra, colocando la mas grande y sobreponiendole luego la del medio y por ultimo la mas pequeña.
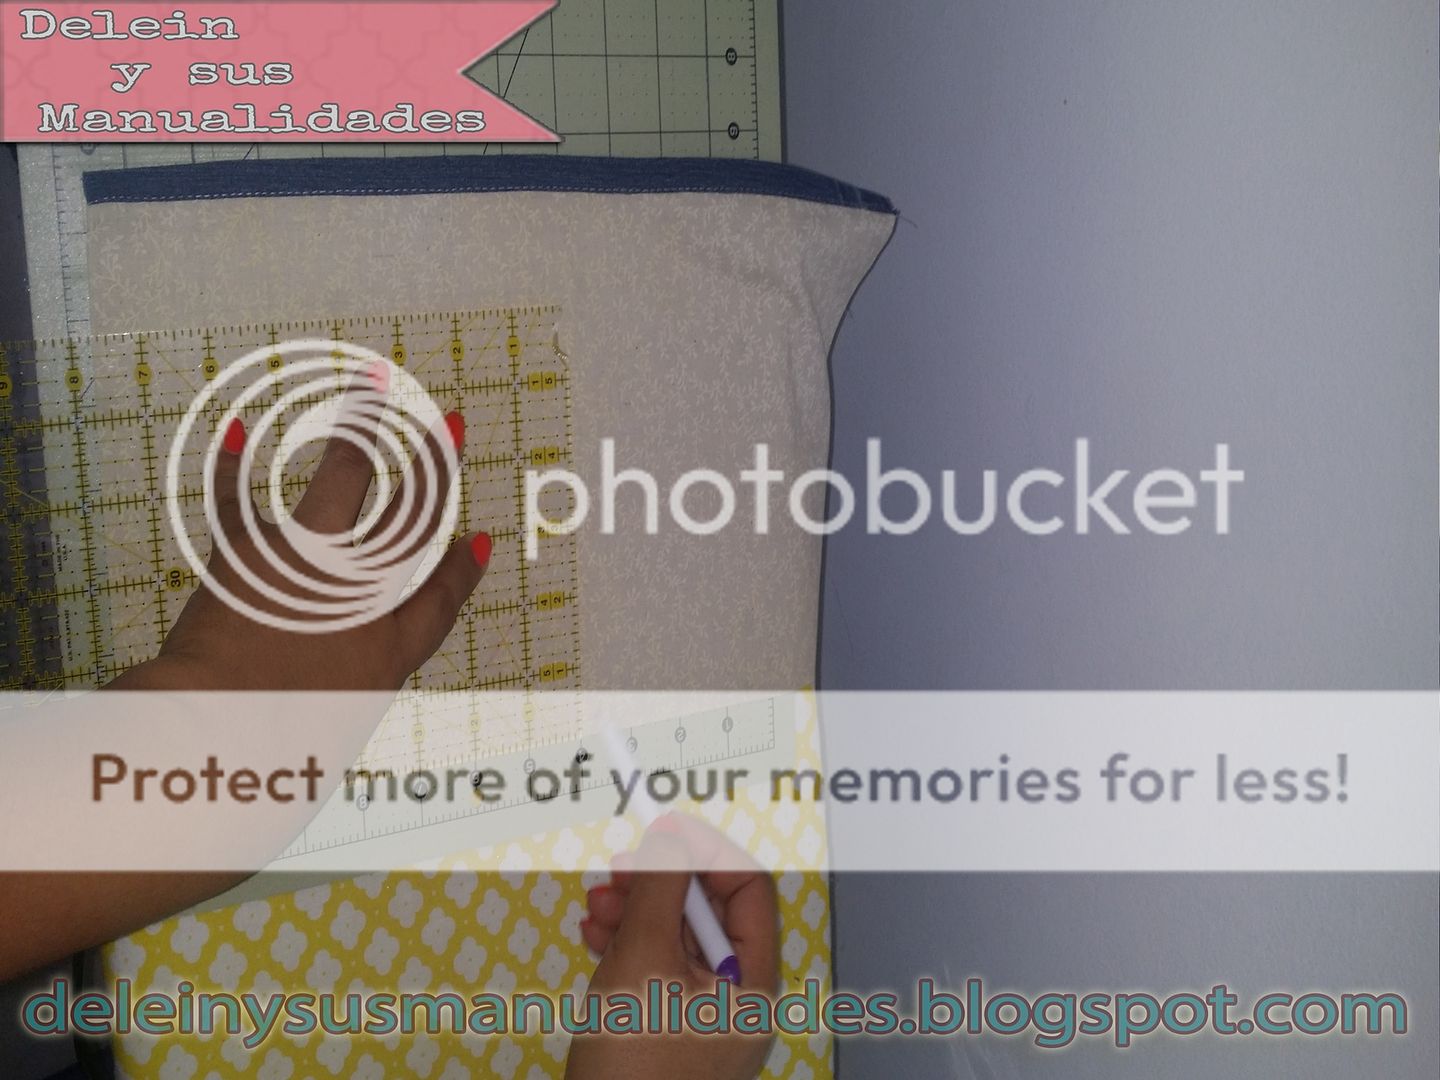
Nota: antes de ubicar las piezas para los bolsillos le hice varias marcas por donde pase unas costuras rectas para dividir los bolsillos, esto lo hice con el bolsillo mas pequeño y el mediano, en el mas pequeño le hice varias marcas de 2.5 cm de separación cada una, que me sirven para sostener lapices, marcadores y cosas por el estilo. En los otro, sólo le hice una marca en el centro para dividir el bolsillo en dos, esto sólo en el bolsillo medio y el mas pequeño, no en el más grande.
Note: Before placing the pieces I made several marks to divide with a straight seam to form little pockets, this I did with the smallest pocket and the medium one, in the smallest I made several marks 1 inch apart each, that serve to hold pencils, markers etc. In the others, I only made a mark in the center to divide the pocket into two, this only in the middle pocket and the smallest, not the biggest.
12.- Aseguré los bolsillos a los costados de las piezas frontera y posterior, respectivamente.
12.- Secure the pockets on the sides of the front and back pieces, respectively.
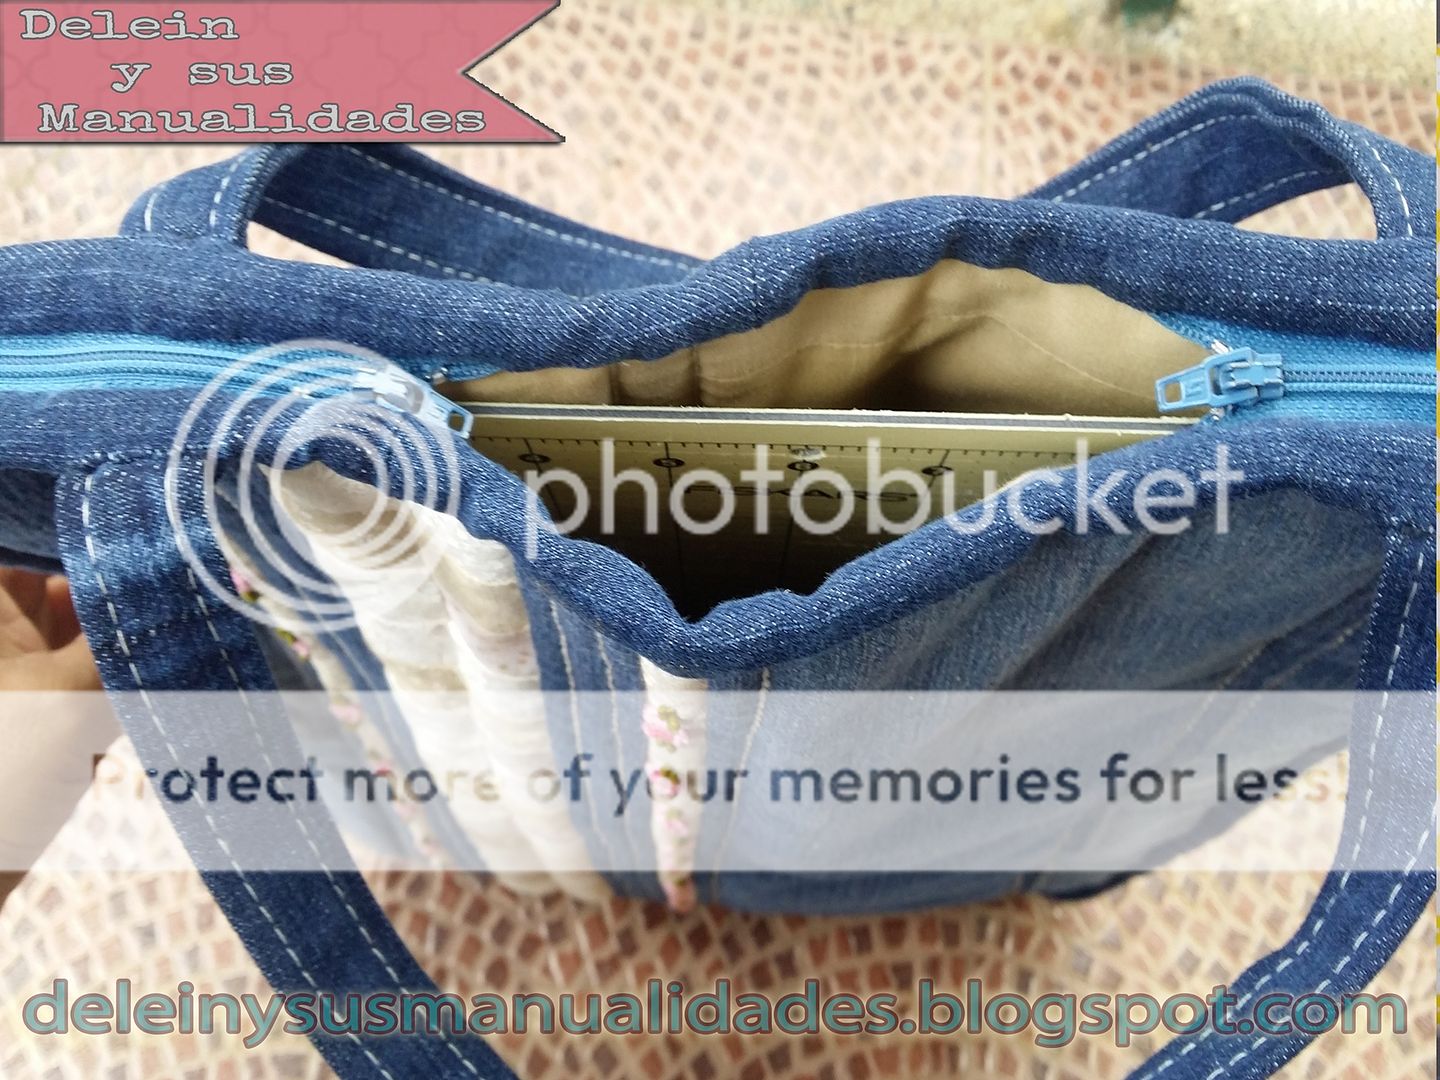
13.- Lamentablemente me enfoque tanto en el trabajo que en el paso de añadir el cierre o zipper, de me olvidó tomar fotos, en este caso utilicé 2 cierres o zippers de de 60 cm cada uno y los coloque a ambos lados del bolso, en la parte inferior coloque una pieza de 42 X 4 cm.
13. Unfortunately I focused at work in the step of adding the zipper, I forgot to take pictures, in this case use 2 fasteners or zippers of 24 inches each and place them on both sides of the bag, at the bottom I put a piece of 16 1/2 x 1 1/2 inches.
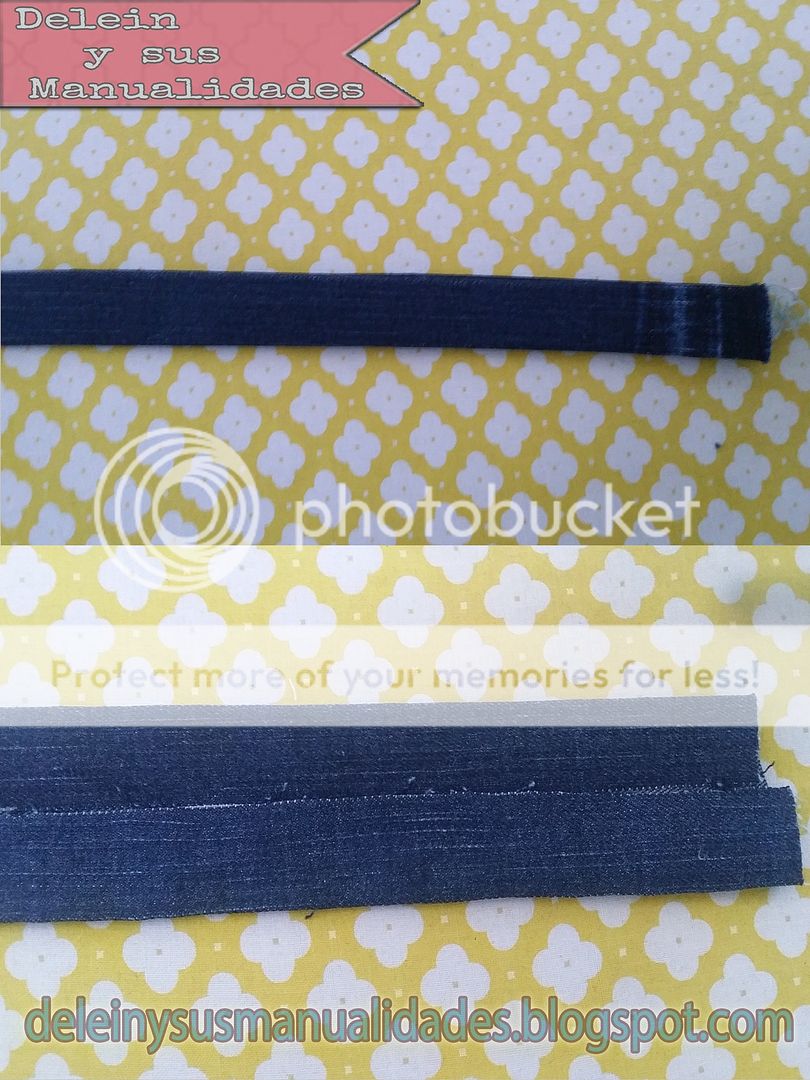
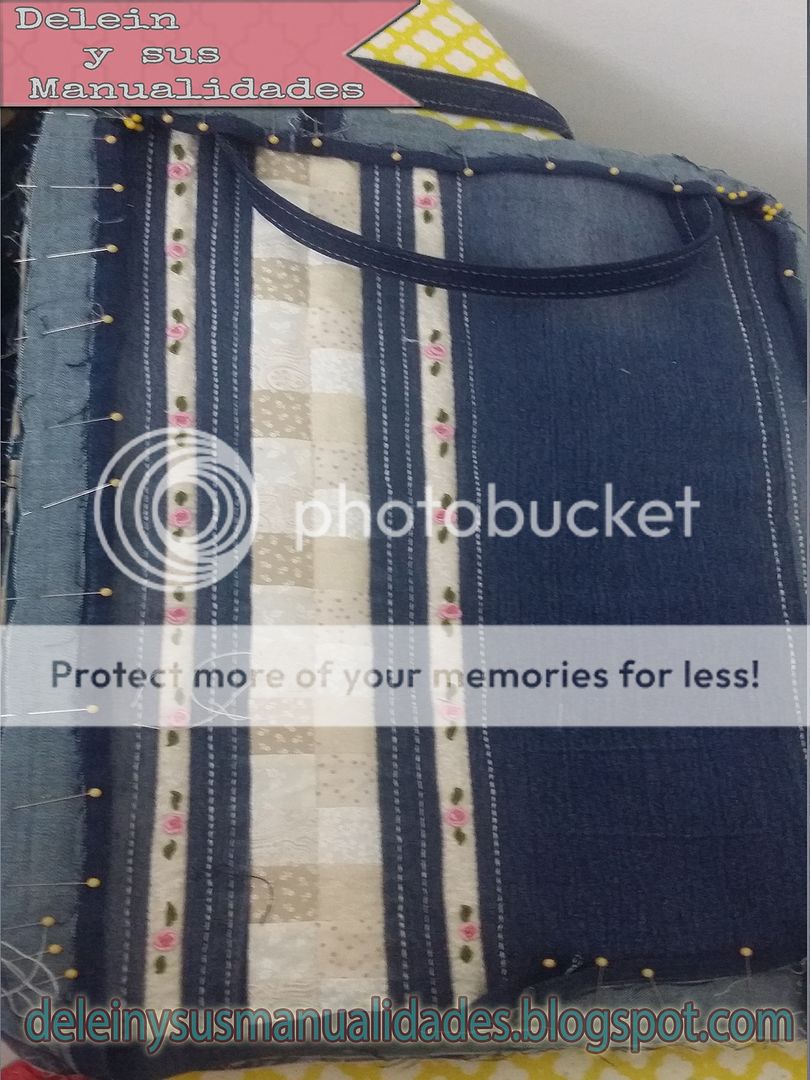
14.- Paso siguiente hice unas tiras de Jean de 8 X 40 cm, con las que realice las asas del bolso, las mismas las doble y les pase dos costuras rectas a cada una.
14.- Next Step I made strips of Jean of 3 X 15 1/2 inches, for thr handles to carry the bag
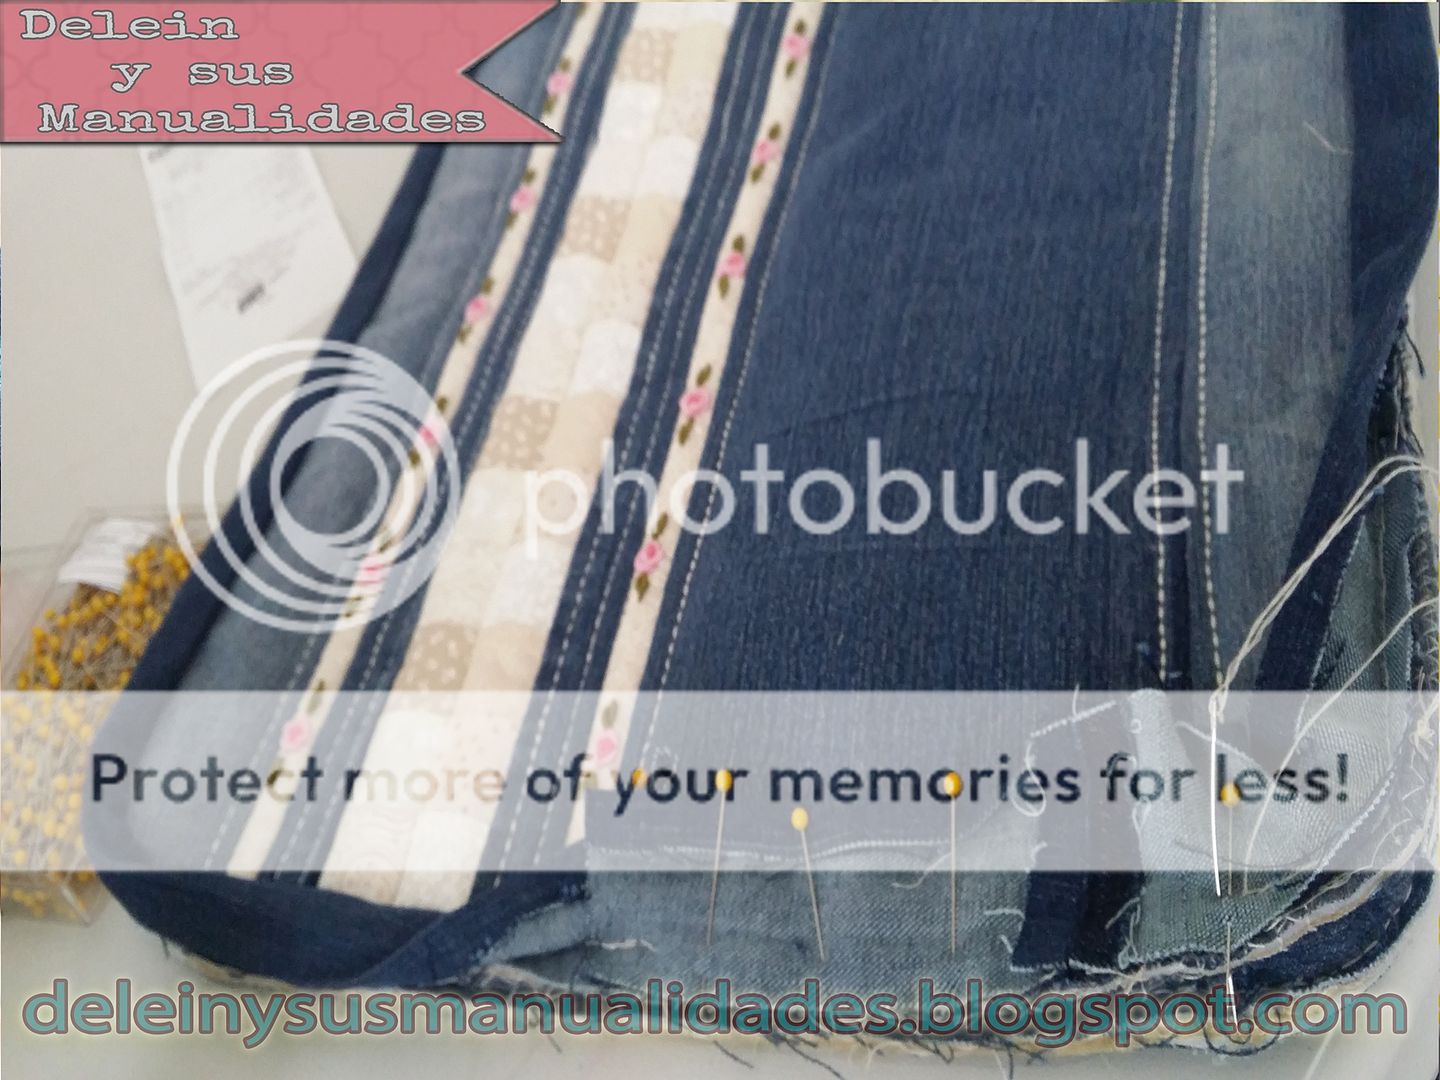
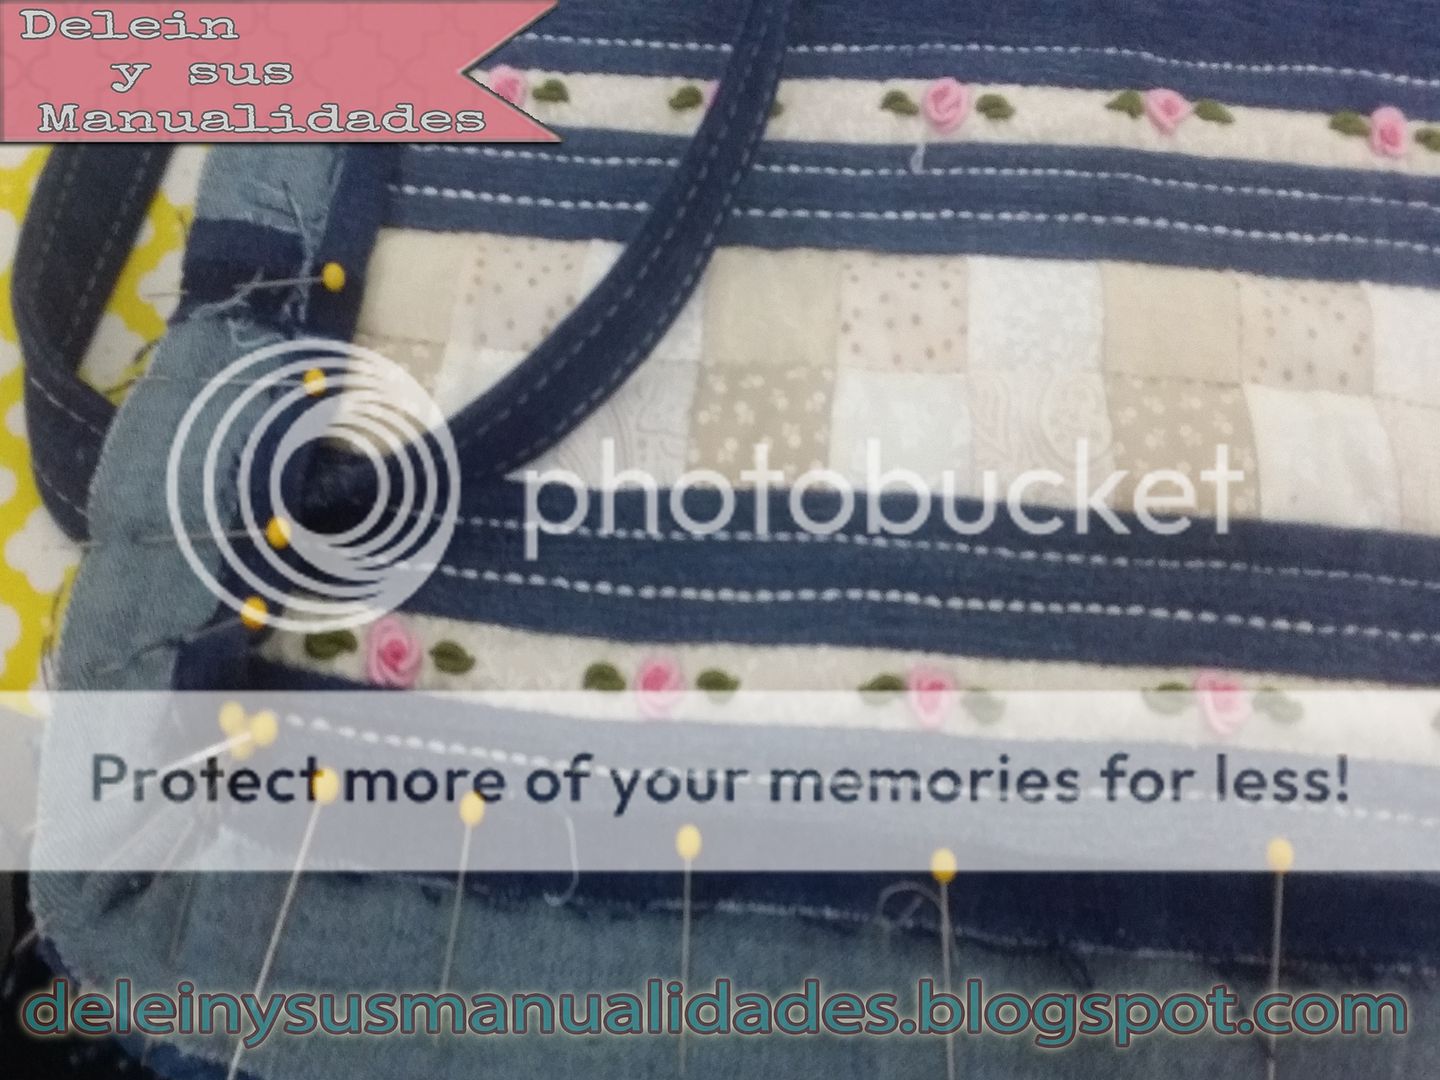
15.- Por ultimo le coloque un bies en todo el contorno, el bies lo hice igualmente de Jean.
15. - Finally I placed a bias him all around, the bias I did it of Jean too.
Y este es el resultado final
And this is the end result
Espero que les haya gustado, si tienen alguna duda con gusto haré todo lo posible por aclararla, me encantaría saber sus opiniones y si alguien mas ha hecho un bolso parecido, me encanta ver las ideas de todas.
I hope you liked it, if you have any questions I will gladly do everything possible to clarify, I will love to hear your opinions and if someone has already done a similar bag, I love to see it.
Hasta la próxima....
Until next time ....
Los invito a que me visiten en YouTube:
Les comienzo a contar mi historia:
Vamos de paseo, les presento a mis plantas Vlog #2 Delein Padilla:
Les sigo contado, vamos a hablar, Vlog #3 Delein Padilla:
Sigo buscando trabajo y también quiero ayudar a mi Abuela a publicar su próximo libro. Vlog #4 Delein Padilla:
Como hacer un armador:
Como hacer bloques HST Patchwork:
 |  |
 |  |

